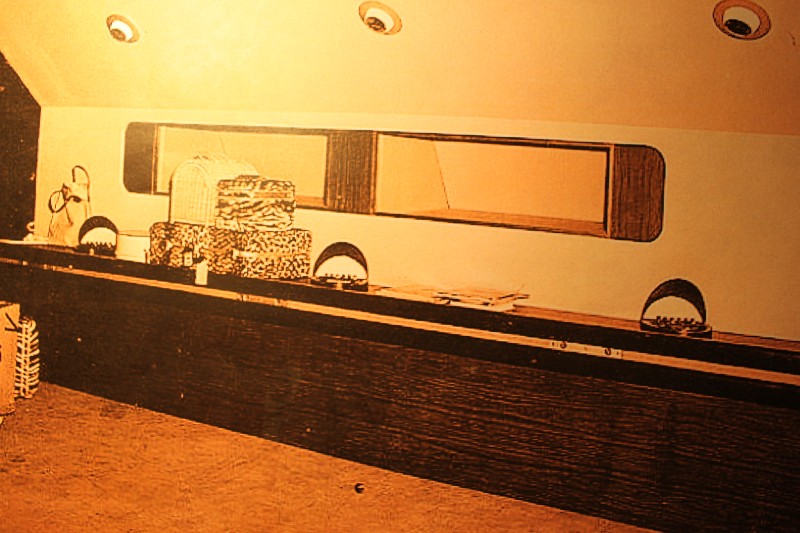
Spindrift from Land of the Giants by Polar Lights

Discuss all non Star Trek related topics here.
Post Reply
User avatar
trekriffic
Admiral of the Fleet
Posts: 2742
Joined: Mon Oct 01, 2012 4:16 pm

Spindrift from Land of the Giants by Polar Lights

Post by trekriffic »

I bought this model soon after it's re-release in 2002 and it's been sitting up high on my garage shelf ever since begging me to build her. But first I needed to buy some accessory resin parts, aftermarket decals, and an engine grill/rear wall flasher kit to really jazz her up and make her look her very best.
So... anyway... I finally got all the add on stuff and worked up the gumption to start working on her some weeks ago but I held off posting any pica until I had enough photos to make it interesting for you guys.
So, having taken over 40 photos now, I figure it's time to begin my build log of the 2002 Polar Lights Spindrift spaceship which was a re-release of the old 1968 Aurora Models kit.
But first, a quick synopsis of the show from Wikpedia...

"Set fifteen years in the future, in the year 1983, the series tells the tale of the crew and passengers of a sub-orbital transport ship named Spindrift. In the pilot episode, the Spindrift is en route from Los Angeles to London, on an ultra fast sub-orbital flight. Just beyond Earth's boundary with space, the Spindrift encounters a magnetic space storm, and is dragged through a space warp to a mysterious planet where everything is twelve times larger than on Earth, whose inhabitants the Earthlings nickname "the Giants." The Spindrift crash-lands, and the damage renders it inoperable."

Here's the trailer from 1968:

https://youtu.be/aDuNvZw8Gr4

This link takes you to a fan video offering a guided tour of the "real" Spindrift which is stored in a top-secret, high-security storage facility:

https://www.iann.net/giants/media/spindrift_tour/

The tour is a lot of fun. Notice that the interior of the Spindrift is much larger than the exterior would seem to allow for; the same "TARDIS" effect seen in other Irwin Allen productions, like the Jupiter 2 in "Lost in Space", or the Seaview in "Voyage to the Bottom of the Sea".

Anyway, enough about the show, time for the model...

First off, the box cover. Very nice. Polar Lights used the same box art as the original Aurora kit. Dig that cool "Land of the Giants" logo:
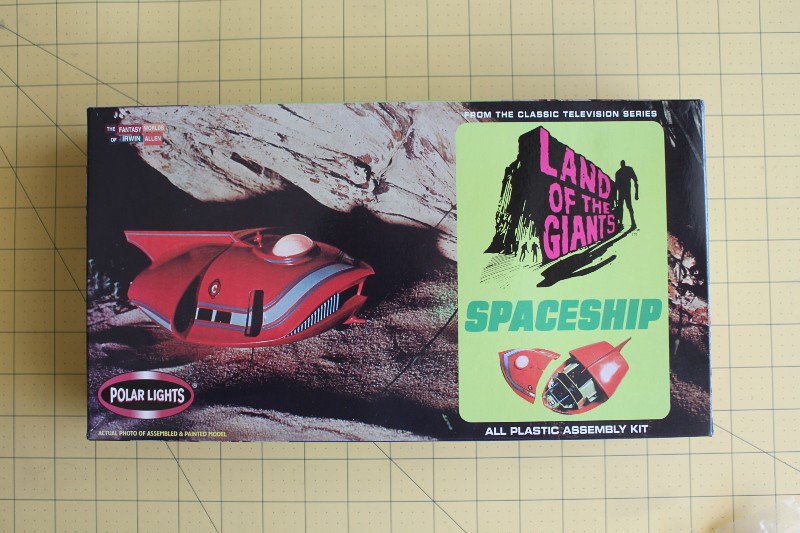
ImageBox Art by trekriffic, on Flickr

Kit parts. Two bags of white and light green plastic parts and one bag of clear parts. The Aurora kit had orange parts in place of the white.
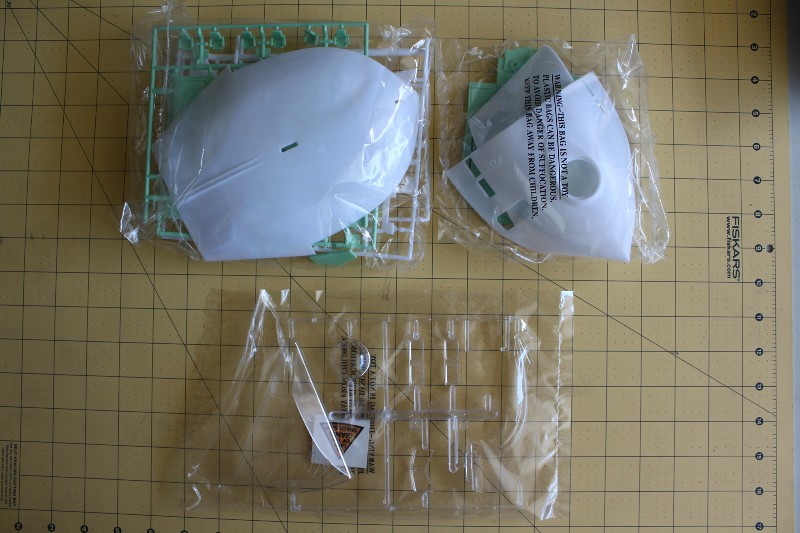
ImageKit Parts by trekriffic, on Flickr

Next up, the dome. I bought this more accurate vac-formed teardrop shaped dome for the upper hull some years ago. It was included as part of an accessory parts kit that also included a resin rear passenger cabin wall and engine intake and exhaust grills:
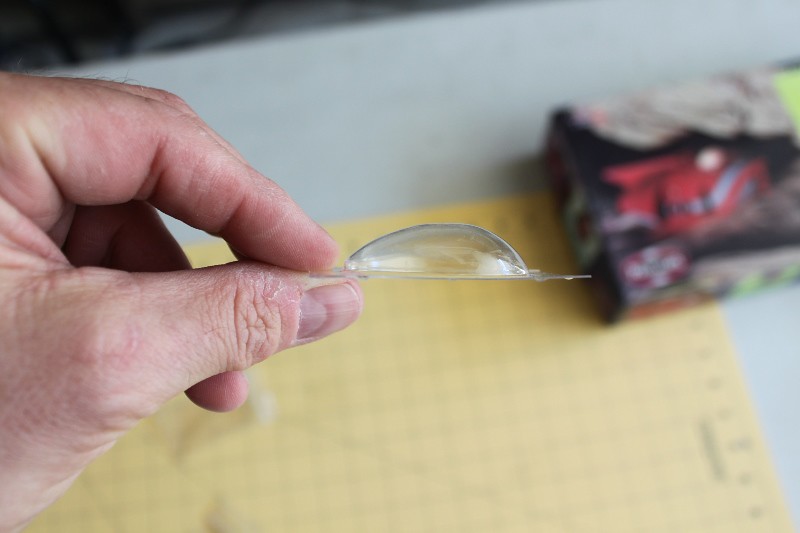
ImageDome by trekriffic, on Flickr

This accessory kit featured drilled out holes for lighting the grills along with transparent red and blue styrene sheet panels. There is quite a bit of flash to clean up but overall I'm quite pleased with these parts:
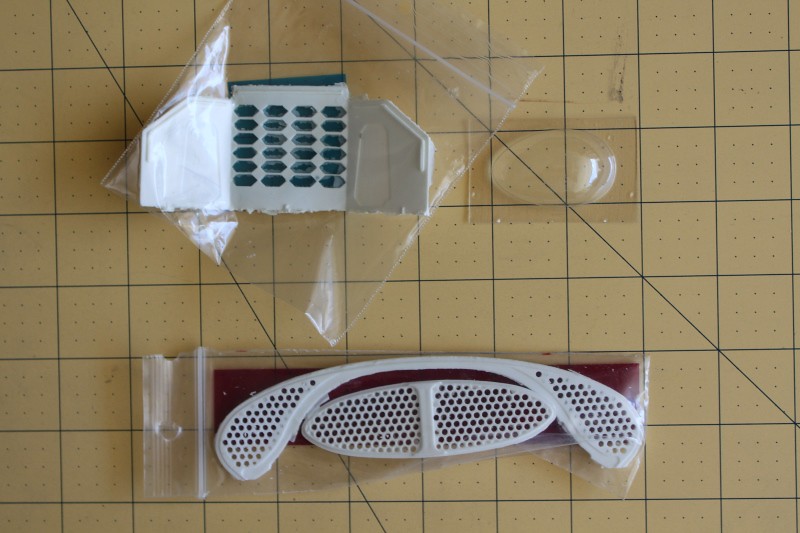
ImageAftermarket Engine Grills by trekriffic, on Flickr

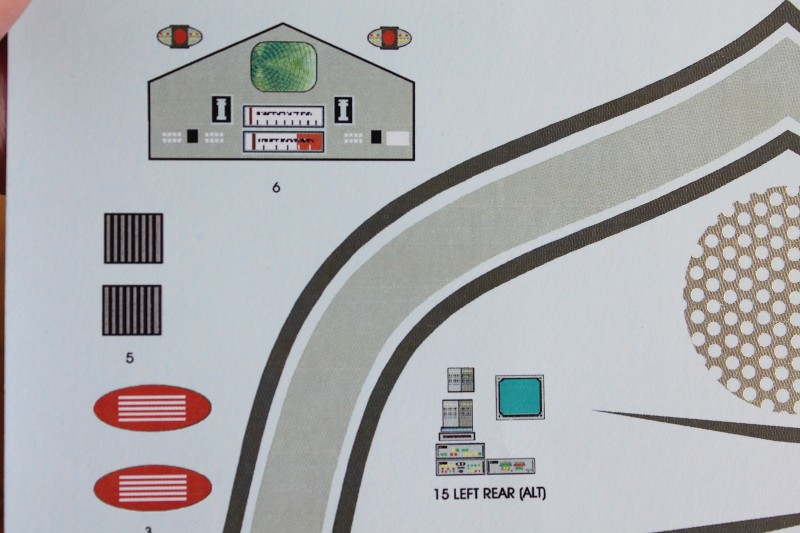
Decals! Love-em! JT Graphics sold these accessory decals in 2002 concurrent with the release of the model kit:
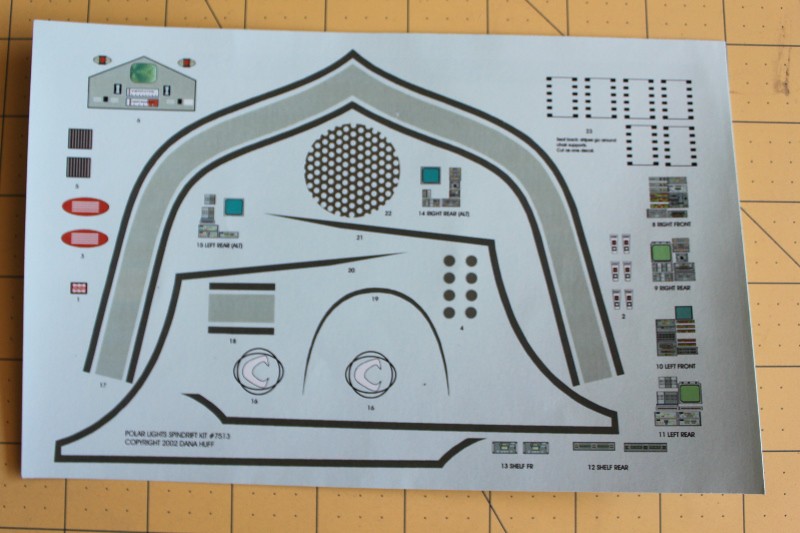
ImageAftermarket Decals by trekriffic, on Flickr

Closeup of some of the cockpit console and door operating panels:
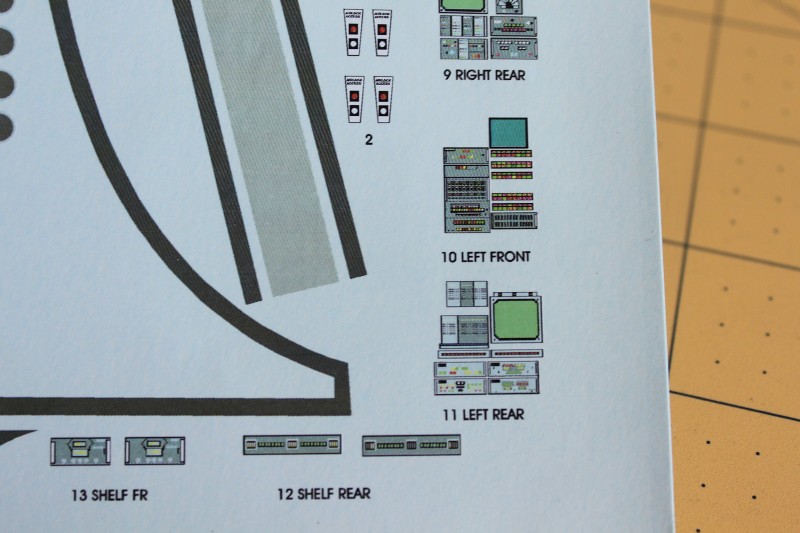
ImageDecal Sheet Detail by trekriffic, on Flickr

Wall and Control Panel Decals:

ImageDecal Details by trekriffic, on Flickr

Instruction sheet-page 1. The instruction sheet is very detailed and even includes steps for making the cockpit steering yokes from scratch using sprue pieces from the kit:
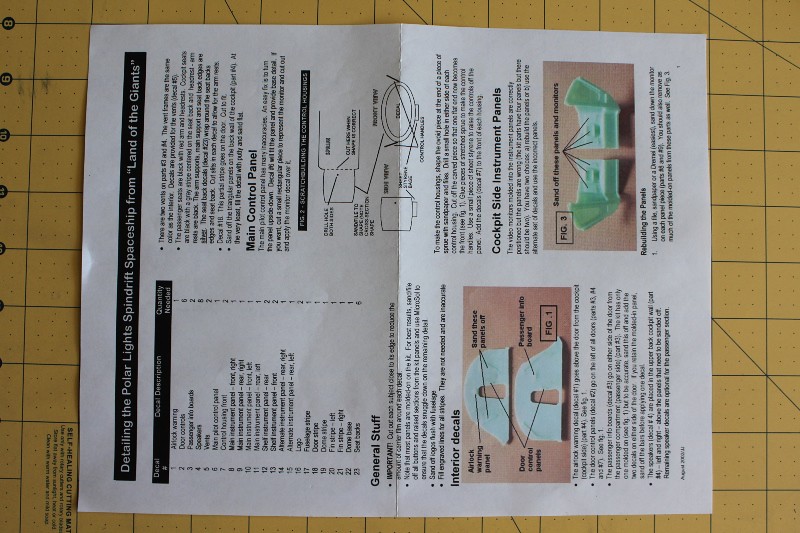
ImageDecal Instruction Sheet - Page 1 by trekriffic, on Flickr

Page 2. More instructions on how to modify the kit cockpit walls to accommodate the instrument panel decals:
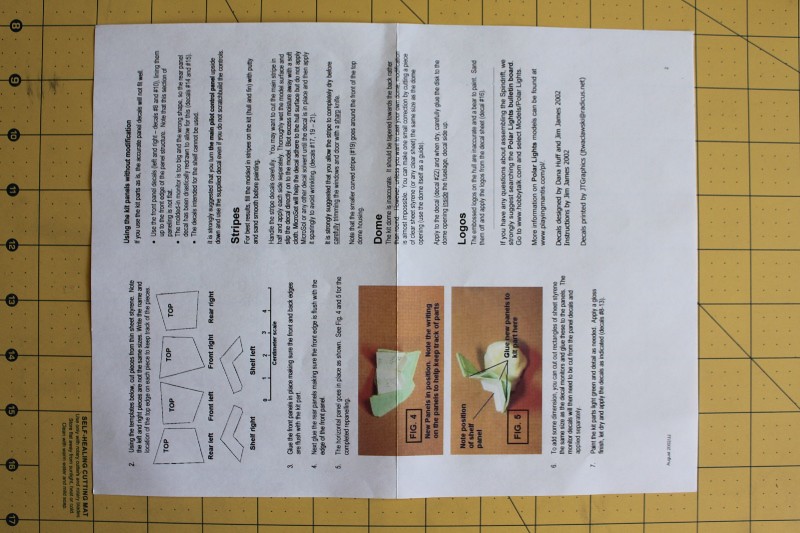
ImageDecal Instruction Sheet - Page 2 by trekriffic, on Flickr
"You broke your little ships."

My albums on flickr: https://www.flickr.com/photos/29607470@N08/sets/
User avatar
trekriffic
Admiral of the Fleet
Posts: 2742
Joined: Mon Oct 01, 2012 4:16 pm

Re: Spindrift from Land of the Giants by Polar Lights

Post by trekriffic »

Time to start the modifications...

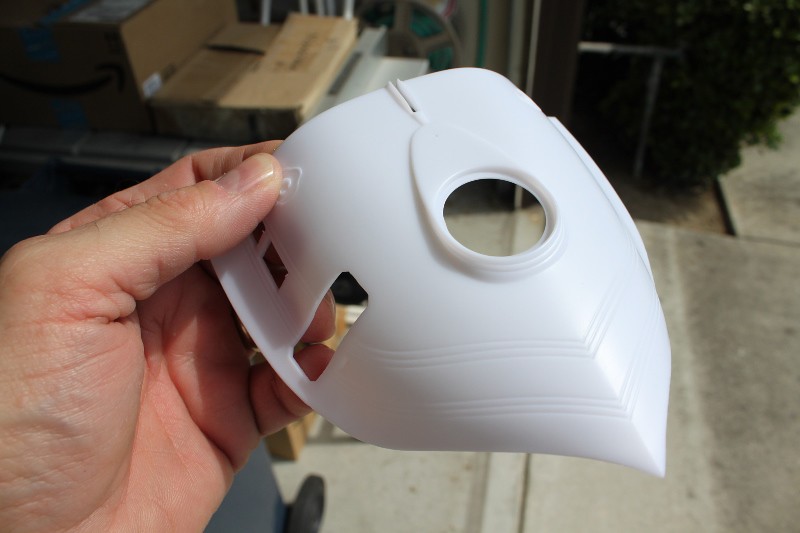
The round opening on top would need to be modified to accept the aftermarket teardrop shaped dome:

ImageForward Top Hull Section by trekriffic, on Flickr
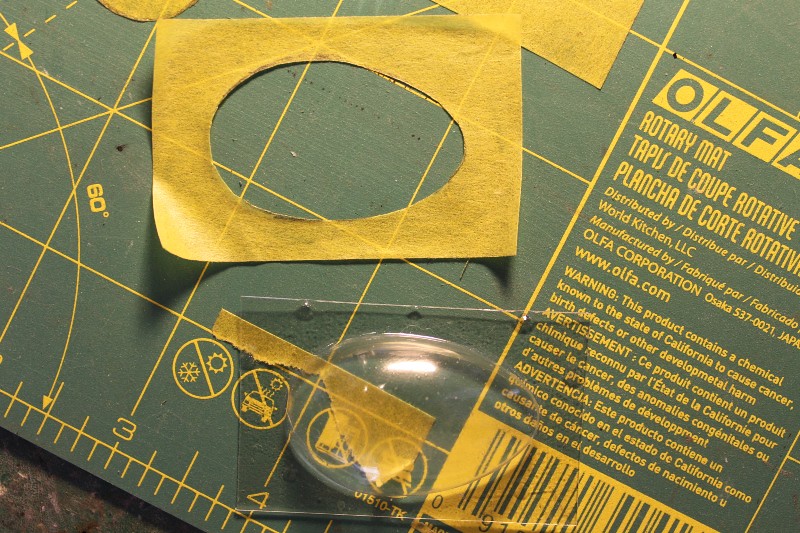
A template for modifying the top forward hull section was made from tamiya tape using the vacuum formed dome as a guide:

ImageTemplate by trekriffic, on Flickr
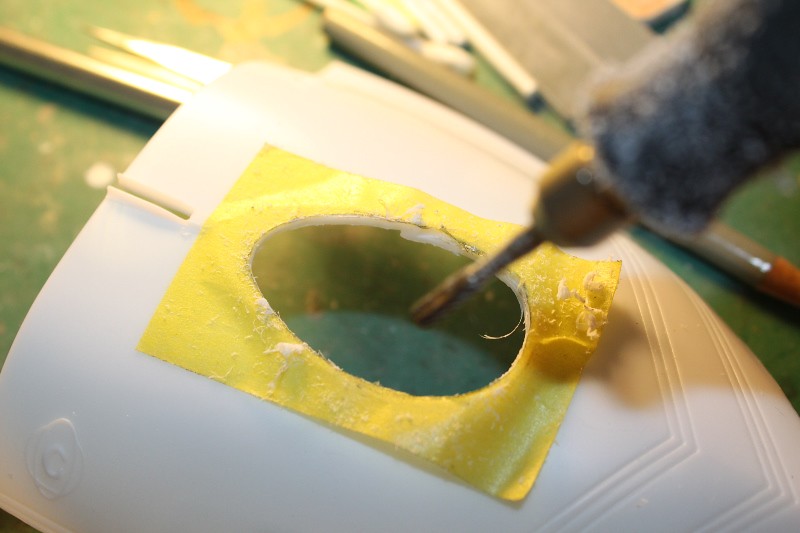
My dremel made quick work of this:

ImagePlastic Removal by trekriffic, on Flickr
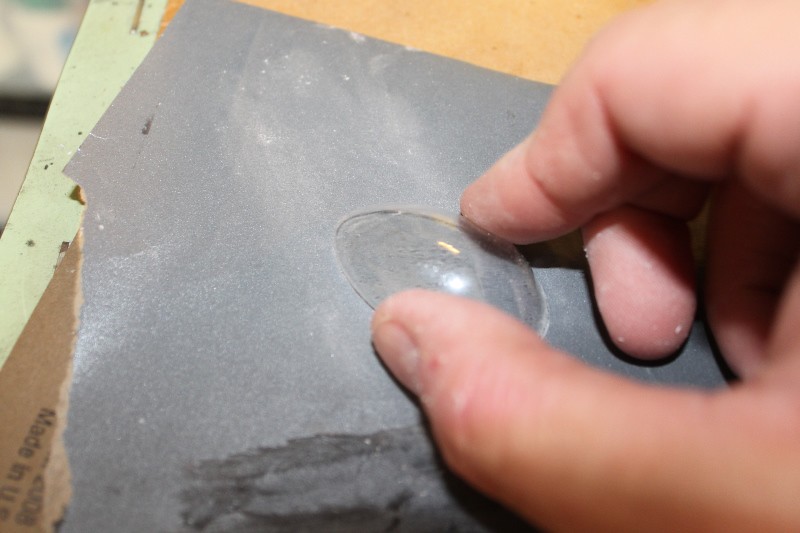
After slicing the teardrop dome away from its flange I sanded the edge using a piece of 600 grit sandpaper:

ImageSanding the Dome by trekriffic, on Flickr
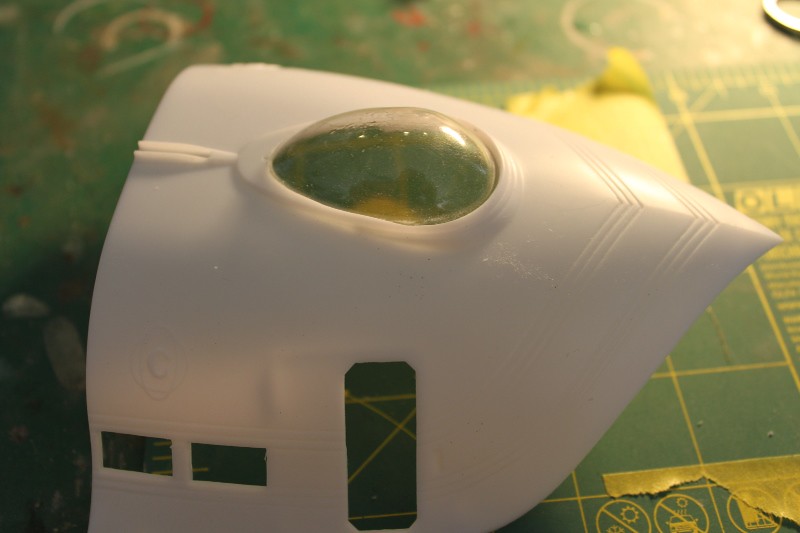
The modified opening fits the new dome almost perfectly:

ImageDome Test Fit by trekriffic, on Flickr
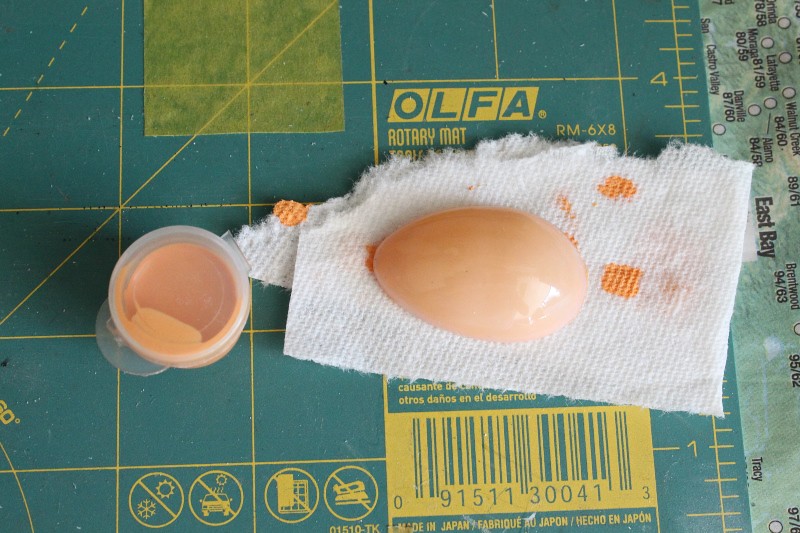
I mixed Tamiya white and transparent orange acrylic to paint the inside surface of the upper dome. Holding the dome upside down I poured the paint in and swirled it around the inside of the dome tilting it from front to back and side to side until I had achieved good coverage. Then I poured the remaining paint out, wicking any drips hanging off the rim of the dome with a paper towel. This process was repeated a couple of times until I was satisfied I had no thin spots in the coating:

ImagePainting the Inside of the Dome by trekriffic, on Flickr
Last edited by trekriffic on Tue Dec 05, 2017 4:46 pm, edited 1 time in total.
"You broke your little ships."

My albums on flickr: https://www.flickr.com/photos/29607470@N08/sets/
User avatar
trekriffic
Admiral of the Fleet
Posts: 2742
Joined: Mon Oct 01, 2012 4:16 pm

Re: Spindrift from Land of the Giants by Polar Lights

Post by trekriffic »

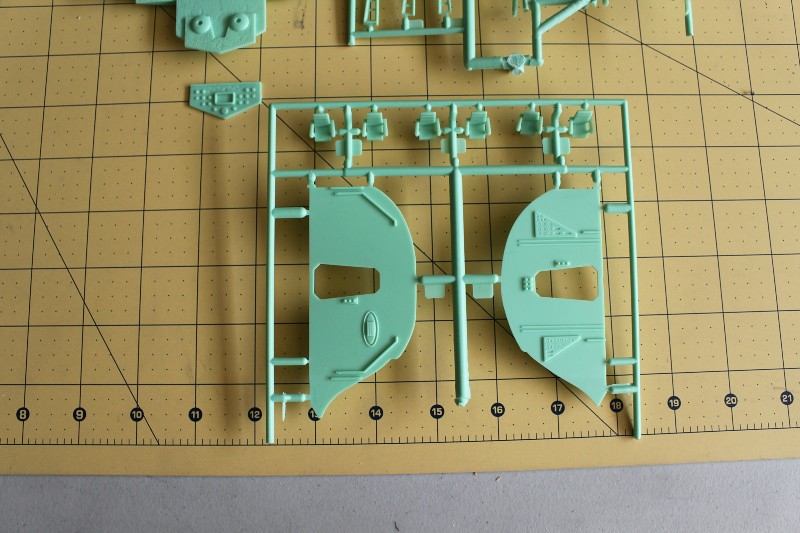
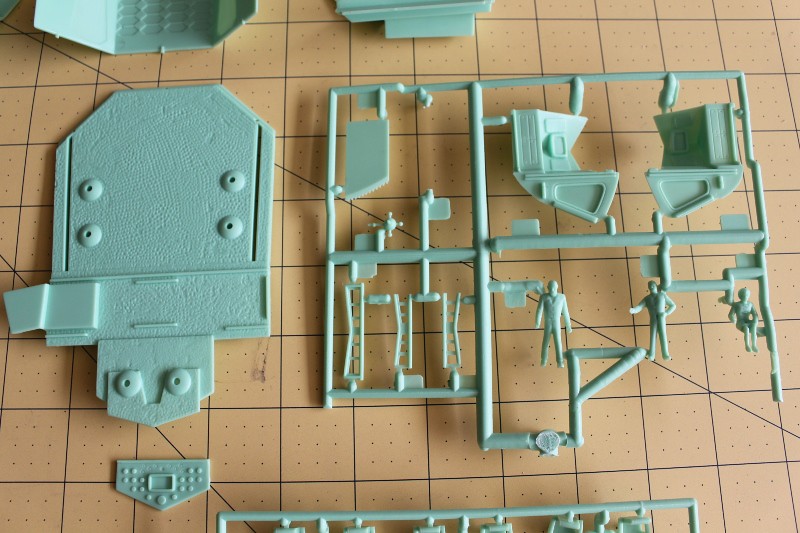
Bulkhead walls, seats, and forward instrument panel. All these parts will be heavily modified before painting and decaling:

ImageBulkhead Walls, Seats, and Forward Instrument Panel by trekriffic, on Flickr
Floor, cabin walls, and crew figures. The crew figures are oversized for the scale of the ship. I calculated the crew were close to 1/62 scale while the Spindrift itself works out to somewhere between 1/72 and 1/76 scale:

ImageFloor, Cabin Walls, and Crew Figures by trekriffic, on Flickr
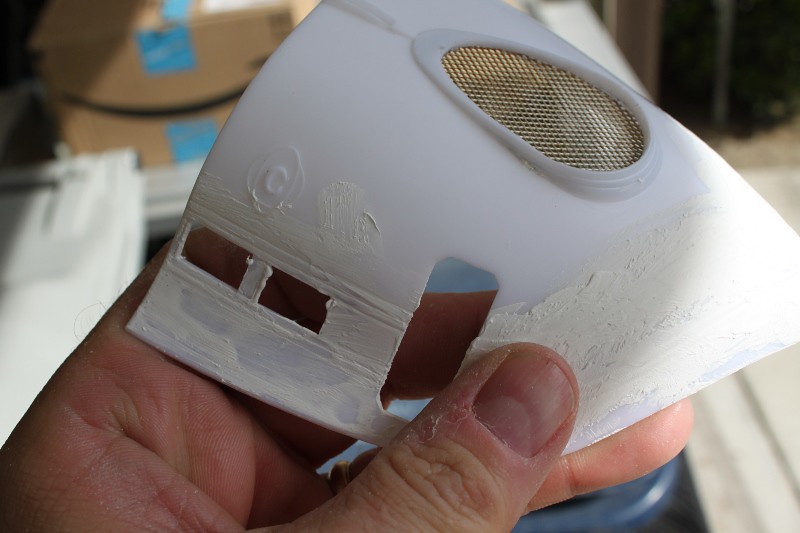
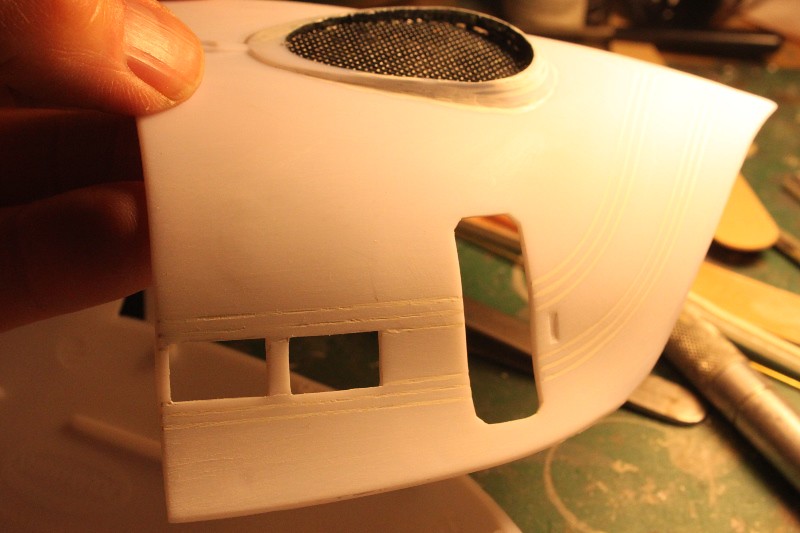
Puttying the grooves. The incised lines were meant to serve as a painting guide but with the hull decals I had they were rendered superfluous so I filled them in with Perfect Plastic Putty. The decal instructions told me to do so as well:

ImagePuttying the Upper Forward Hull by trekriffic, on Flickr
Sanding. After the initial sanding was done I could see I will need to repeat the filling and sanding process several times:

ImageSanding Upper Forward Hull by trekriffic, on Flickr

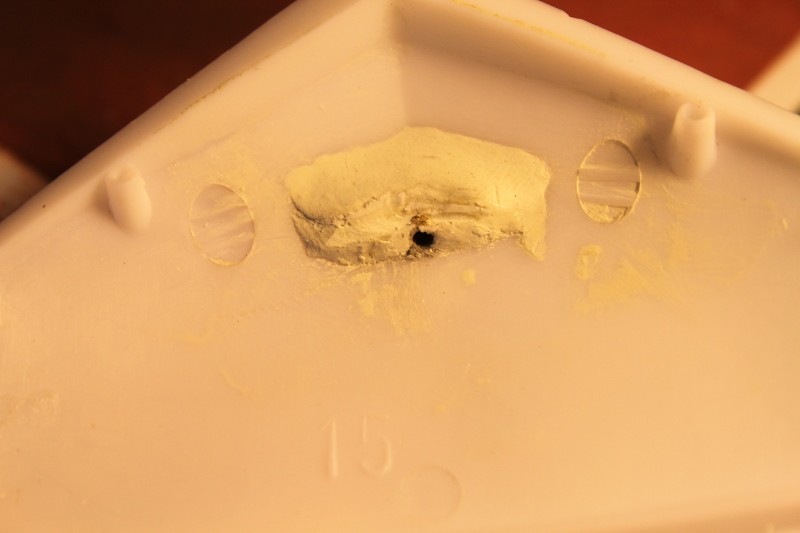
Mounting a brass tube in the bow for my scratch-built forward antenna to slide into meant adding some reinforcement to hold it in place. I used Tamiya epoxy putty for this purpose. You can also see the molded in oval shapes to either side which I would use as guides for the bow headlight openings:

ImageTamiya Putty in Bow of Lower Hull by trekriffic, on Flickr
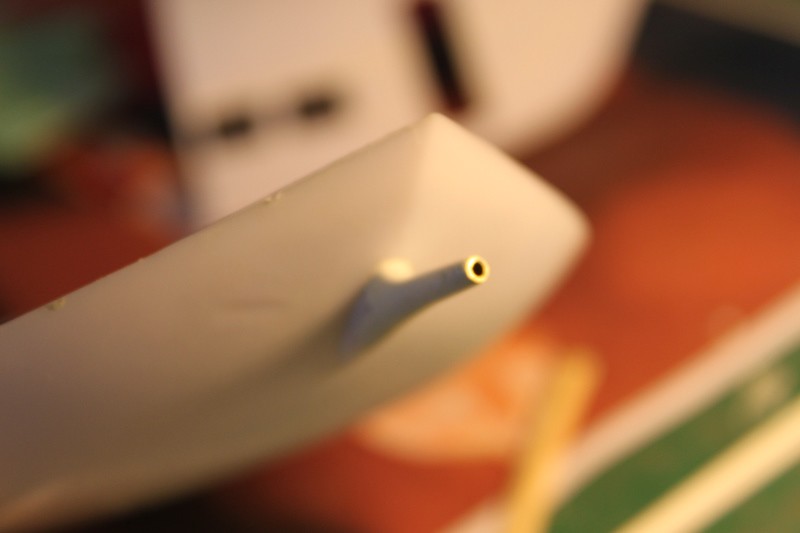
Bow instrument probe or antenna mount. I drilled out the kit part and extended it a tad using brass tube before gluing it into the lower bow. The tube was then puttied using AVES and sanded to smoothness:

ImageBow Instrument Probe or Antenna Mount by trekriffic, on Flickr
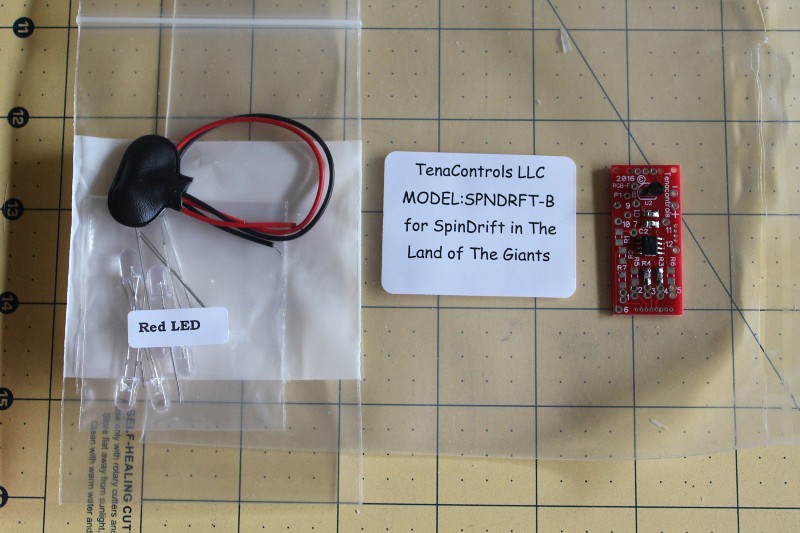
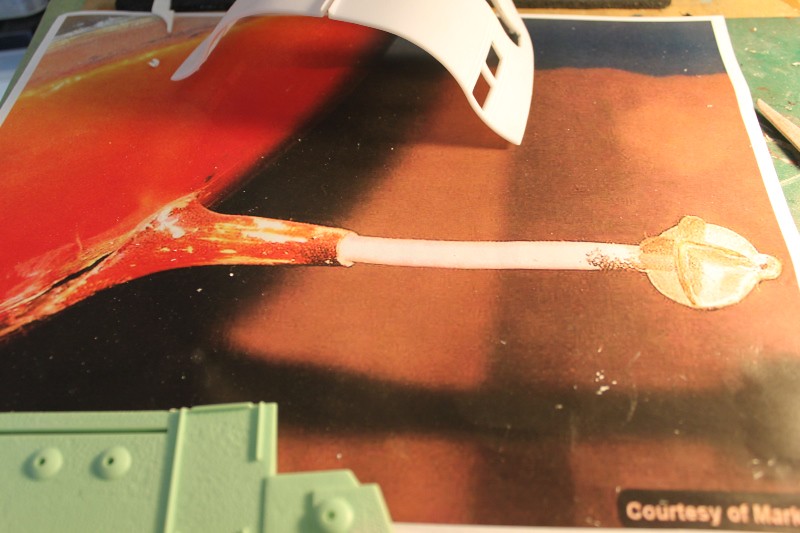
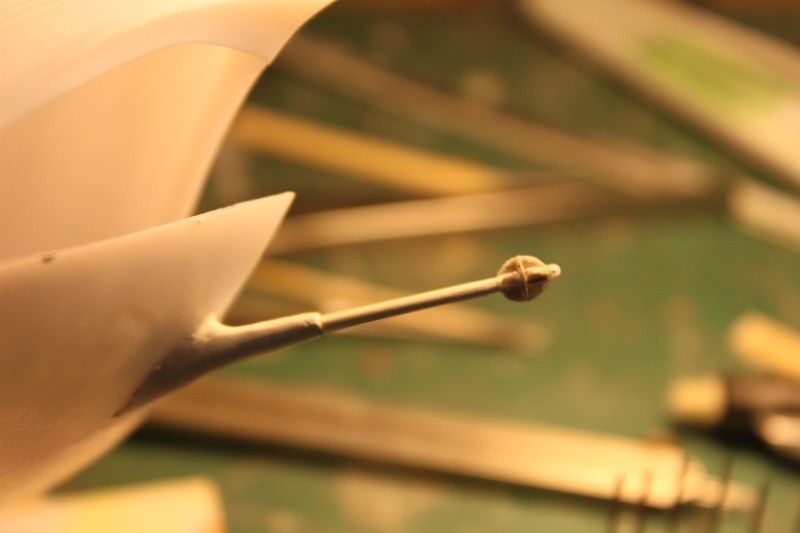
Image of studio model doohicky. We were never told what the exact purpose was for this extended probe/antenna during the series but it almost seems to be intended for use as a towing arm. Note the loop at the tip - possibly to be used for hooking onto?:

ImageStudio Model Probe or Antenna by trekriffic, on Flickr
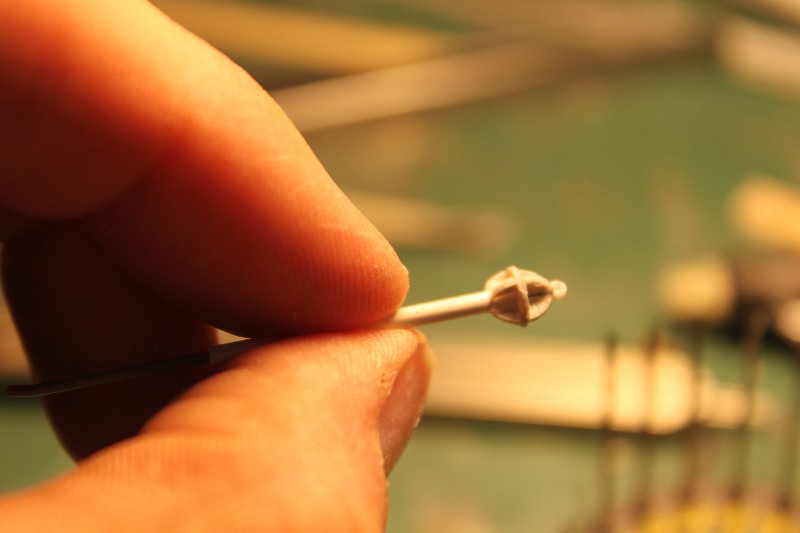
Using styrene sheet and this carbon steel rod coated with white vinyl cladding I made my own bow probe/antenna arm:

ImageBow Probe (or Antenna) Scratch Build by trekriffic, on Flickr
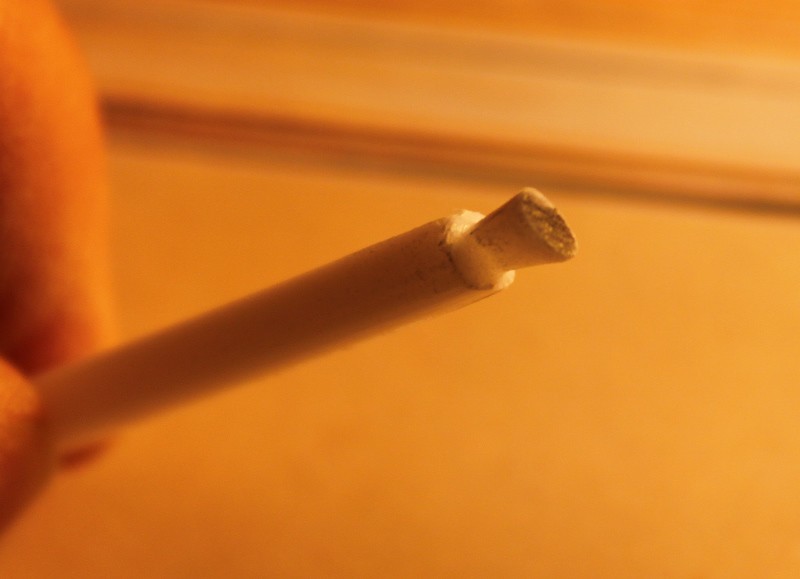
I was even able to use a piece of styrene tubing to make the loop at the tip of the probe:

ImageTip of Probe by trekriffic, on Flickr
Next up... making the passenger seats...

ImageSpindrift Set 02 6-26-4 by trekriffic, on Flickr
ImageSpindrift Set 04 6-26-4 by trekriffic, on Flickr
ImageSpindrift Set 05 6-26-4 by trekriffic, on Flickr
"You broke your little ships."

My albums on flickr: https://www.flickr.com/photos/29607470@N08/sets/
User avatar
trekriffic
Admiral of the Fleet
Posts: 2742
Joined: Mon Oct 01, 2012 4:16 pm

Re: Spindrift from Land of the Giants by Polar Lights

Post by trekriffic »

Passenger seat mods...

Using brass wire and Evergreen styrene strip I started in with mods to acurize the passenger seats:

ImagePassenger Seat Mods by trekriffic, on Flickr

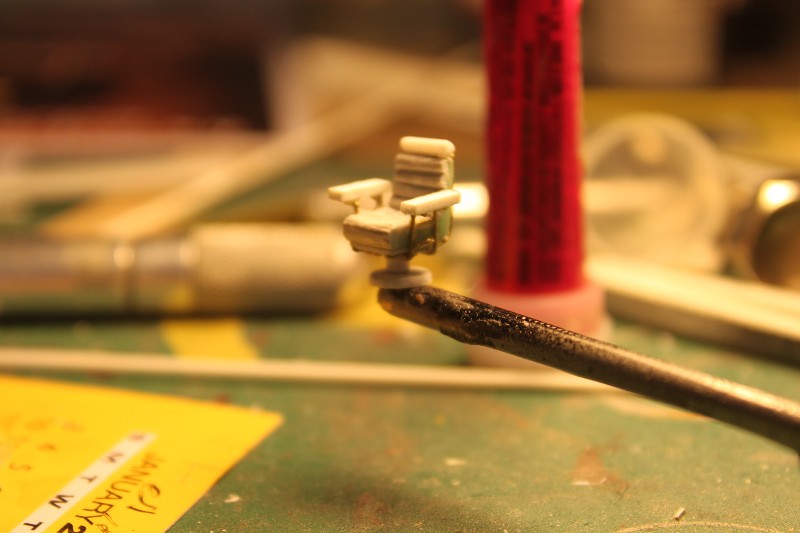
It only took me about 2-1/2 hours to complete the first passenger seat. The new base replaces the molded on base molded into the passenger cabin floor which I had to remove:

ImageChair on Base by trekriffic, on Flickr
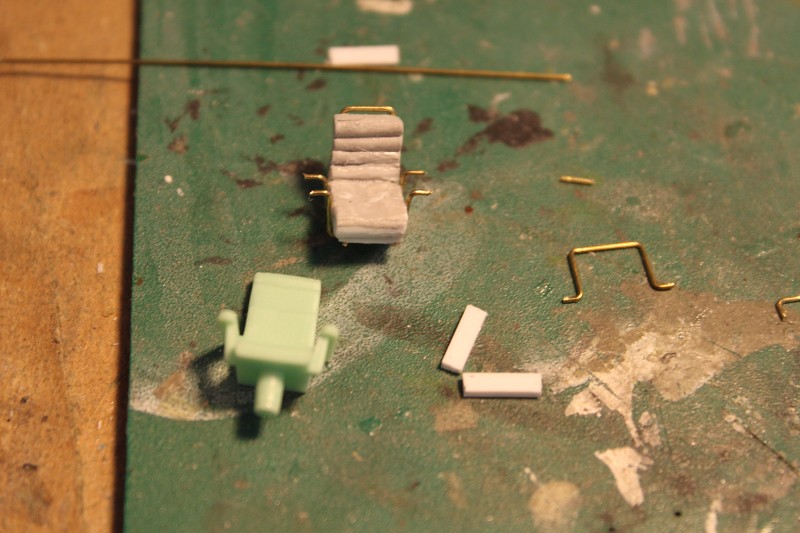
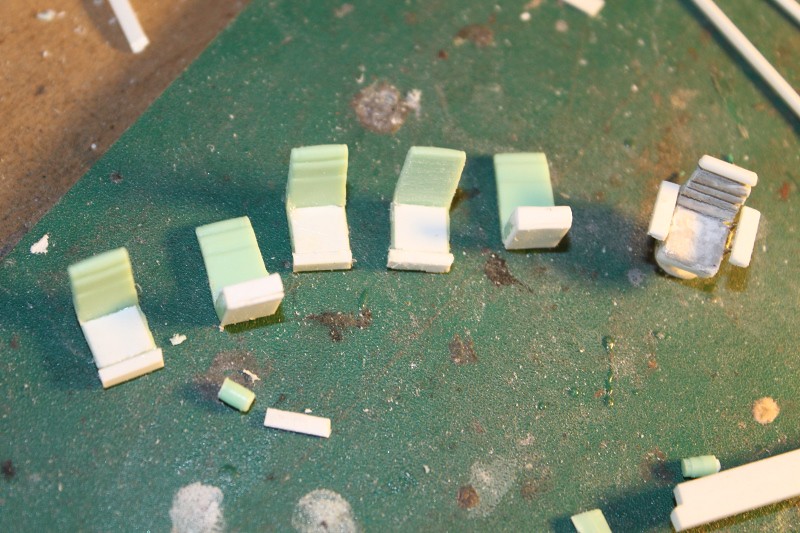
Five chairs in progress. The lower half of the seat was too short so it was extended using Evergreen strip. The upper backrest was too tall and needed to be shortened before adding a piece of round Evergreen rod for the headrest:

ImageFive Chairs in Progress by trekriffic, on Flickr
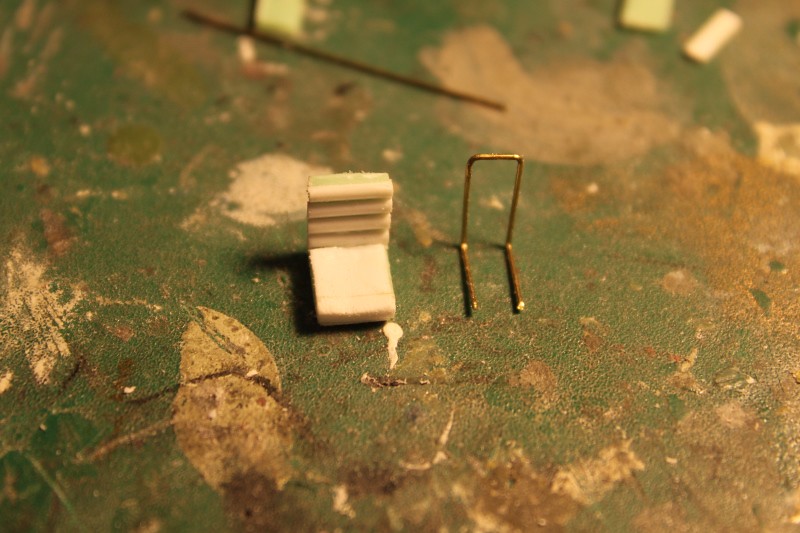
Brass frame. Brass rod had to be bent precisely to shape using some fine tipped needle nose pliers:

ImageNew Seat with Brass Frame by trekriffic, on Flickr
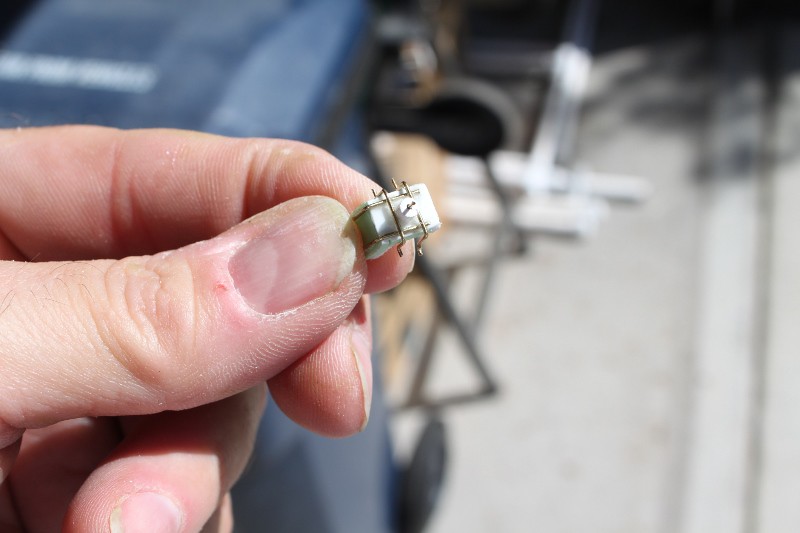
The armrest support brackets were bent to shape and glued to the underside using CA glue:

ImagePassenger Seat Armrest Brackets by trekriffic, on Flickr
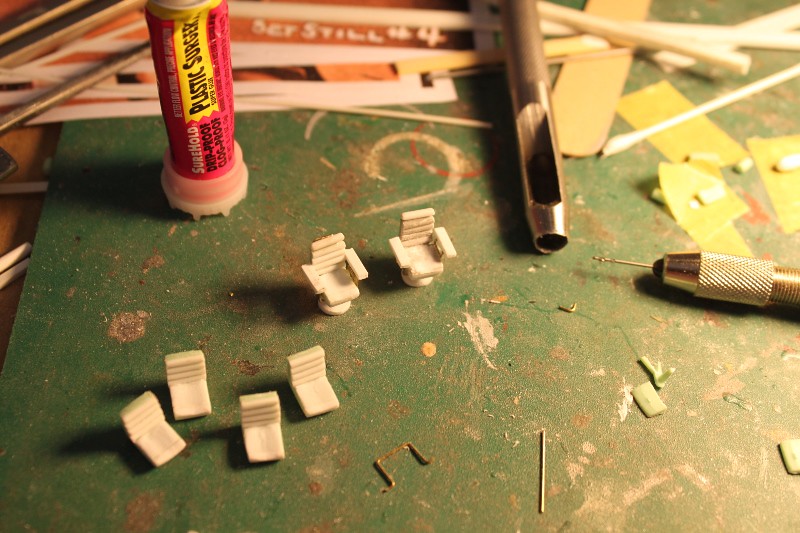
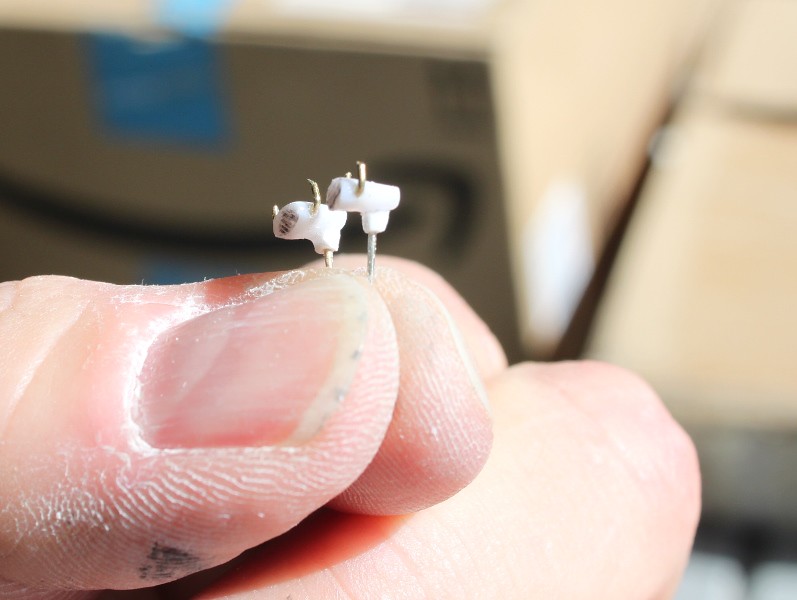
Two down, four to go. I got each chair down to about an hour to finish with practice:

ImageTwo Down and Four To Go. by trekriffic, on Flickr
"You broke your little ships."
My albums on flickr: https://www.flickr.com/photos/29607470@N08/sets/
User avatar
trekriffic
Admiral of the Fleet
Posts: 2742
Joined: Mon Oct 01, 2012 4:16 pm

Re: Spindrift from Land of the Giants by Polar Lights

Post by trekriffic »

Jumping around... got this in the mail last week from Ralph at Tenacontrols:

The Spindrift's engine grills would fade slowly up and down to signify the atomic reactor was fully charged. This board from Tenacontrols reproduces that effect and can power up to six red LEDs:

ImageTenacontrols Board for Engine Grills by trekriffic, on Flickr

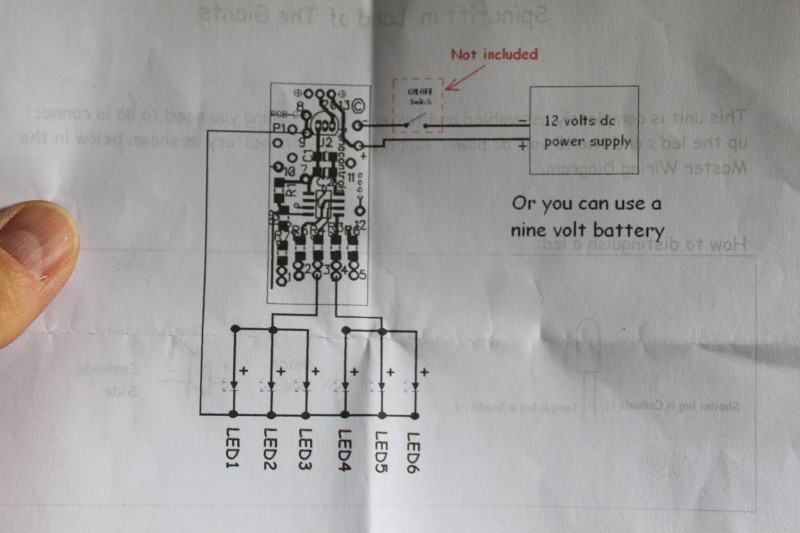
Wiring diagram. The only connections I need to solder are the wires for the power supply and the the flashing LEDs:

ImageTenacontrols Wiring Diagram by trekriffic, on Flickr

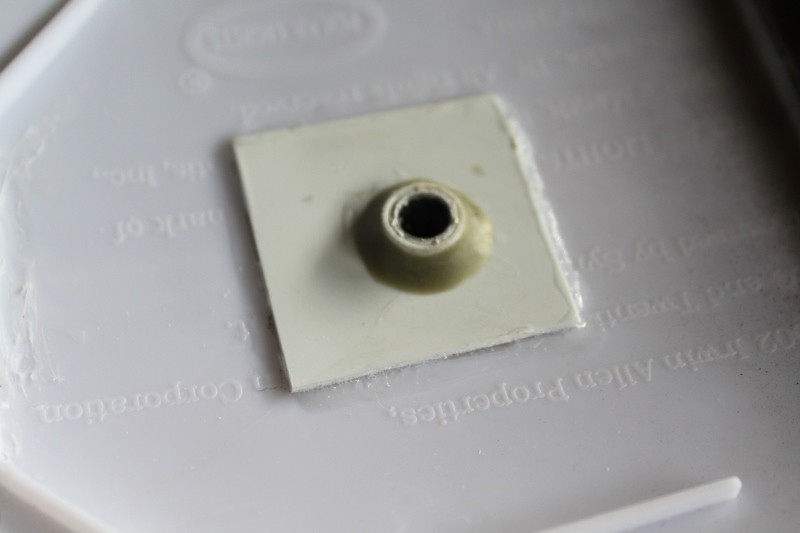
Next I worked on the mounting point in the lower hull for the stand tube. Evergreen tubing was glued into a reinforcing plate made from .020 sheet styrene. AVES was then packet around the tubing for added strength:

ImageMounting Point in Lower Hull by trekriffic, on Flickr

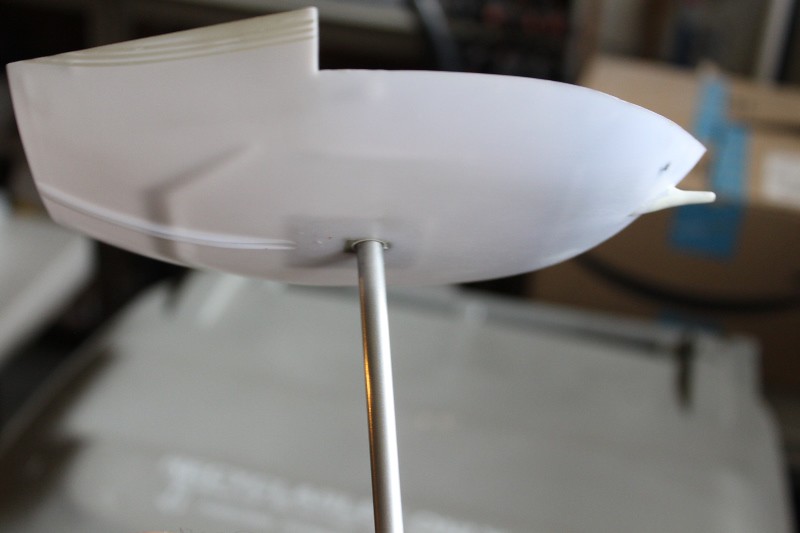
The aluminum stand tube fit snugly into the plastic tubing mounted in the lower hull. The aluminum tube is hollow to allow for passage of wires from the base:

ImageStand Tube by trekriffic, on Flickr

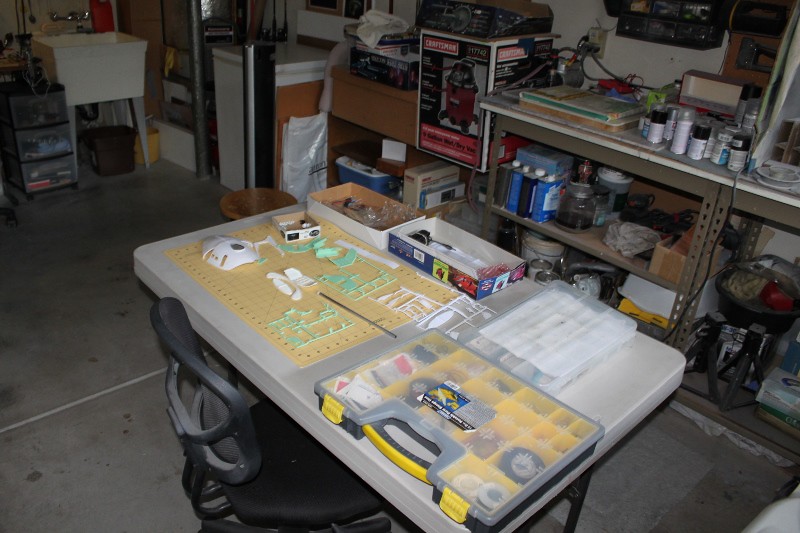
Most of my work is done at a drafting table located to the left out of frame in this photo. I use this table to organize parts and set things aside to dry:

ImageMy Garage Work Table by trekriffic, on Flickr

Swerving back to the model...

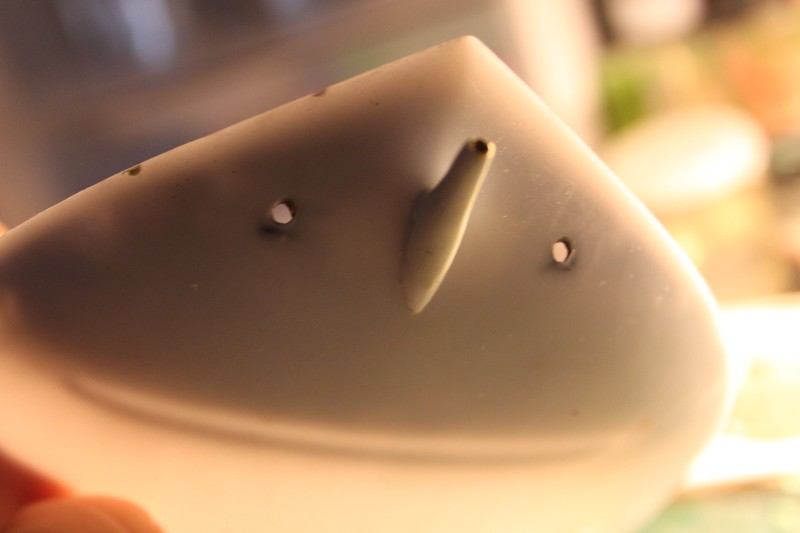
I have some very tiny LEDs to mount in these openings for the bow lights:

ImageOpenings for Bow Headlights by trekriffic, on Flickr

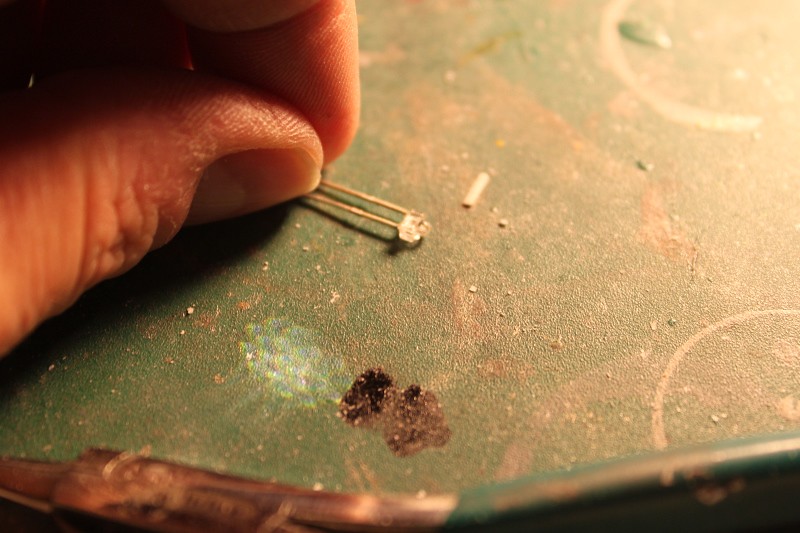
Two tiny 1.8mm cool white LEDs will serve for the headlights in the bow:

Image1.8 MM LED by trekriffic, on Flickr

Next up... work on the pilot seats and the steering yokes...
Last edited by trekriffic on Tue Dec 05, 2017 4:51 pm, edited 1 time in total.
"You broke your little ships."

My albums on flickr: https://www.flickr.com/photos/29607470@N08/sets/
User avatar
MSgtUSAFRet
Can-Do Captain
Can-Do Captain
Posts: 531
Joined: Wed Jun 15, 2016 5:49 pm
Location: Houston, TX

Re: Spindrift from Land of the Giants by Polar Lights

Post by MSgtUSAFRet »

Looking Good, Steve!

Your organization skills make mine look like a toddler's by comparison - they don't have any! :lol:

Keep going!

Steve
User avatar
trekriffic
Admiral of the Fleet
Posts: 2742
Joined: Mon Oct 01, 2012 4:16 pm

Re: Spindrift from Land of the Giants by Polar Lights

Post by trekriffic »

Been a few weeks since my last post so... let's get caught up...

Worked on the steering yokes.

The JT Graphics decal instructions said to carve the two steering yokes out of sprue so that's what I did:

ImageSteering Yoke In Progress by trekriffic, on Flickr

After final shaping with a very small dremel bit and jeweller's files I drilled a hole straight across to insert a piece of brass rod thru for the handles:

ImageDrilling a Hole thru the Yoke by trekriffic, on Flickr

The brass rod handles were bent to the proper curvature after insertion into the yoke to form the handles. I even filed their tops at an angle like the ones seen on the show. A short length of brass rod was inserted thru a sguare piece of Evergreen rod glued to the underside of the yoke:

ImageFinished Yoke by trekriffic, on Flickr

Finished yokes. I think I pretty much nailed the shape of these little guys:

ImageSteering Yokes by trekriffic, on Flickr

ImageCloseup of Finished Yokes by trekriffic, on Flickr

The brass rods I'm holding in my fingers will be trimmed before installation in the dashboard:

ImageSteering Yokes Again by trekriffic, on Flickr

Jumping around...

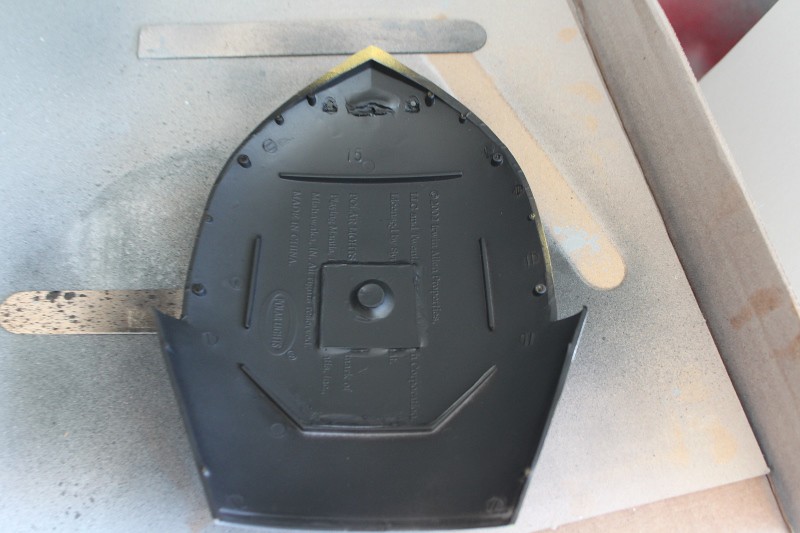
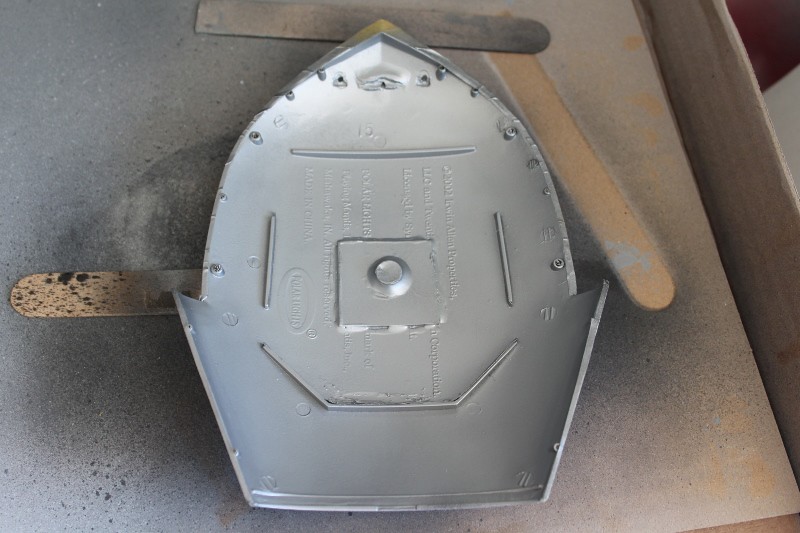
The lower hull got a coat of matte black lacquer for light blocking followed by silver lacquer for light reflectance. :

ImageLight Blocking Lower Hull by trekriffic, on Flickr

ImageSilver Spray Painitng by trekriffic, on Flickr

Modifications were made to the cockpit sidewalls and cabin walls...

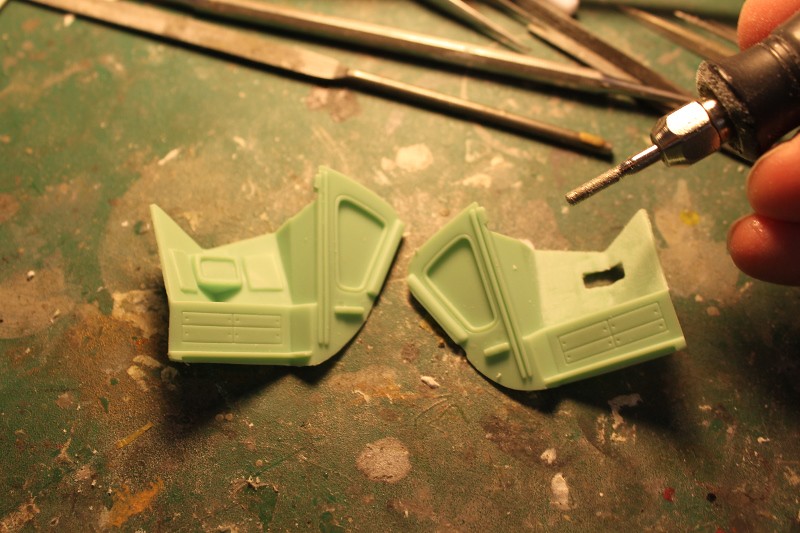
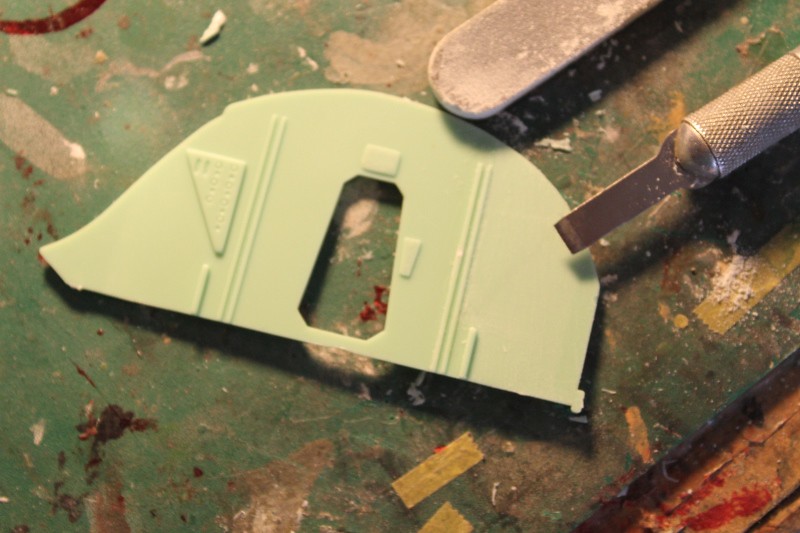
The dremel made short work of removing the inaccurate kit control panel detailing from the cockpit side walls:

ImageMods to Cockpit Side Walls by trekriffic, on Flickr

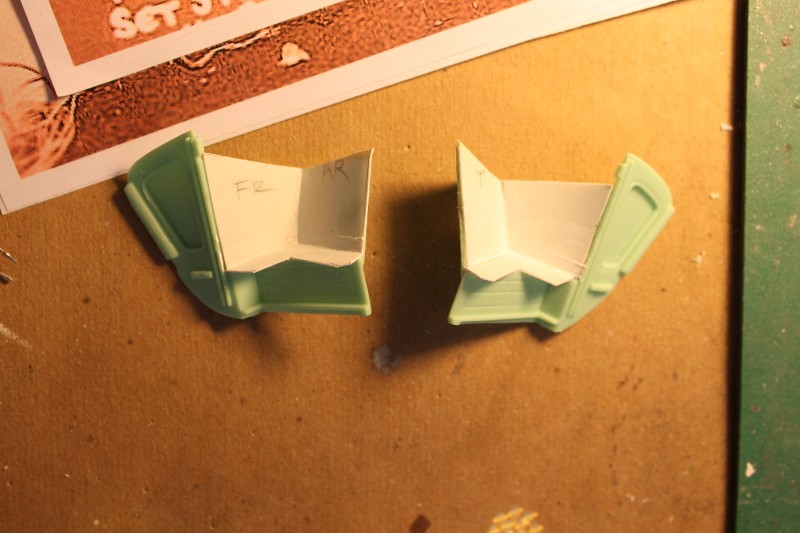
Three sections of thin styrene sheet were cut and trimmed to fit the cockpit side walls per the JT Graphics decal instructions:

ImageNew Sidewall Control Panel by trekriffic, on Flickr

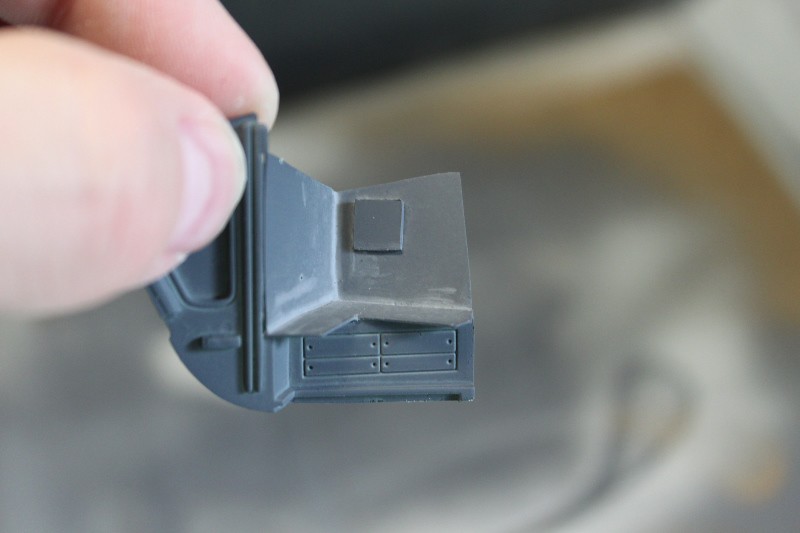
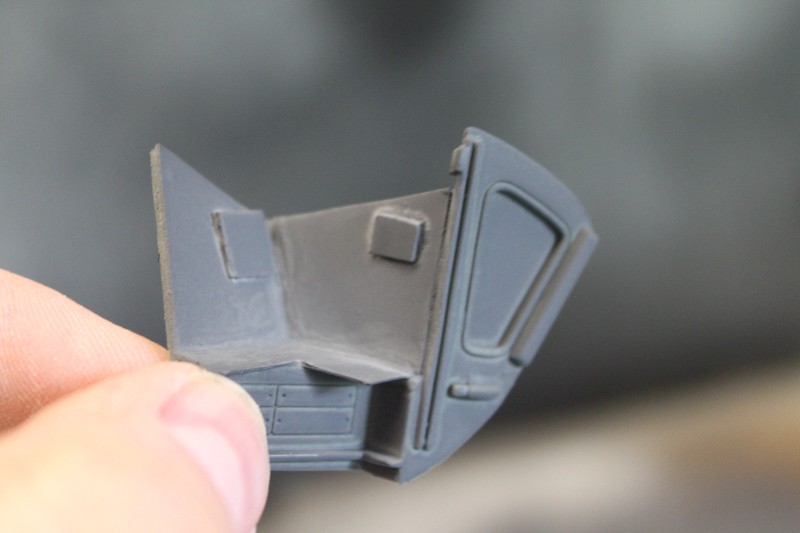
Cockpit walls primed. I also added pieces of styrene sheet to make the monitor screens more three dimensional:

ImagePriming of Cockpit Sidewalls by trekriffic, on Flickr

ImagePort Sidewall Primed by trekriffic, on Flickr

Buttons were removed from the panels above and to the right of the door opening on the cockpit rear wall. Also the triangular control panels (you can see one on the left) needed to be removed:

ImageMods to Cockpit Rear Wall by trekriffic, on Flickr

Rolling along...

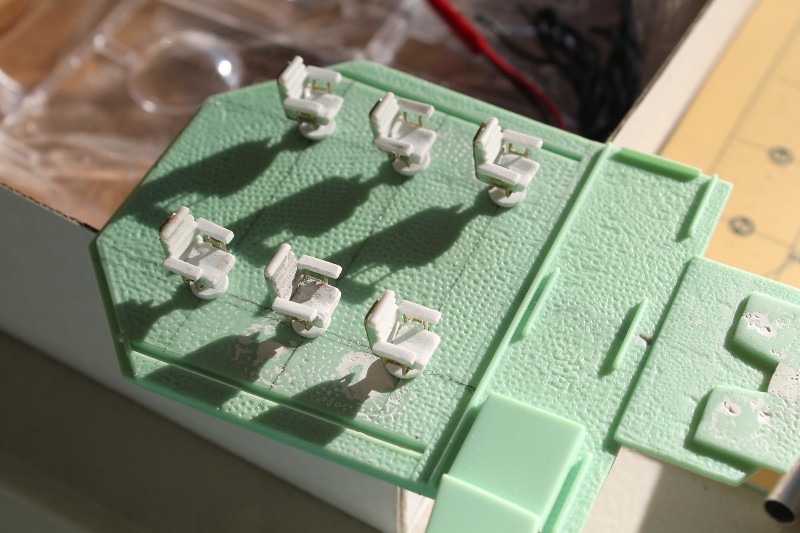
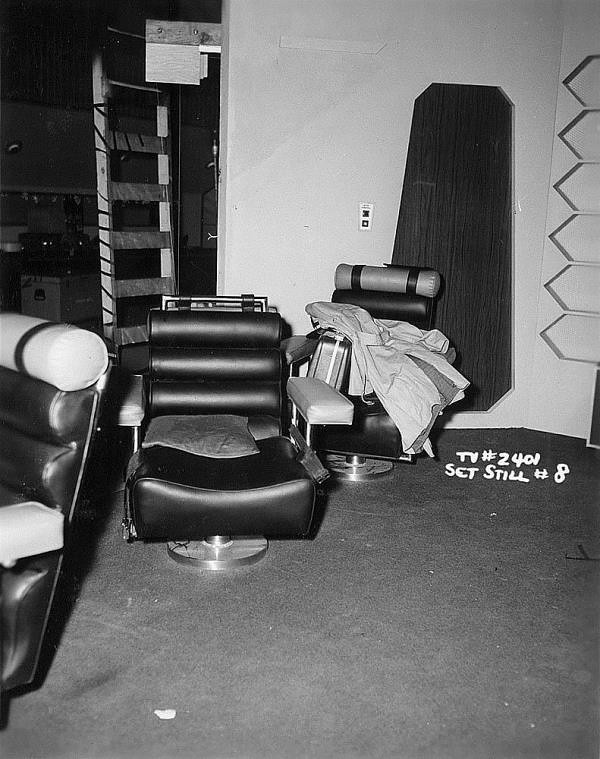
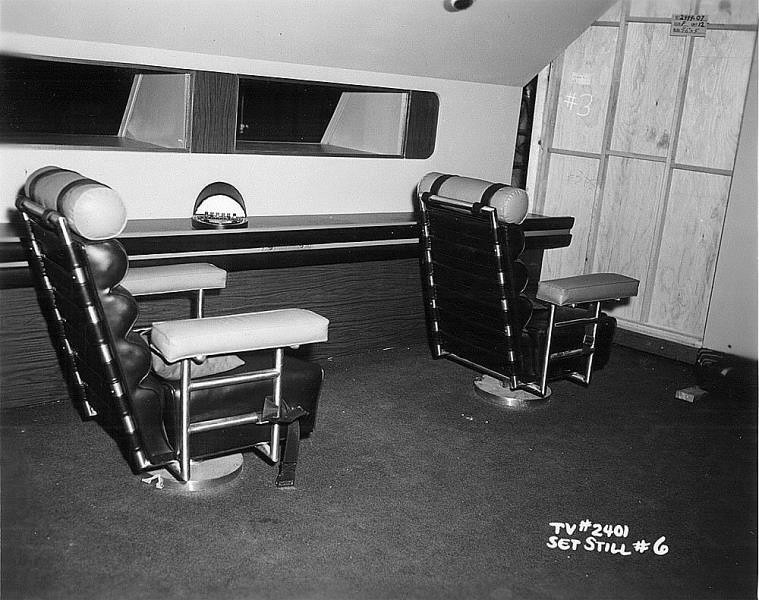
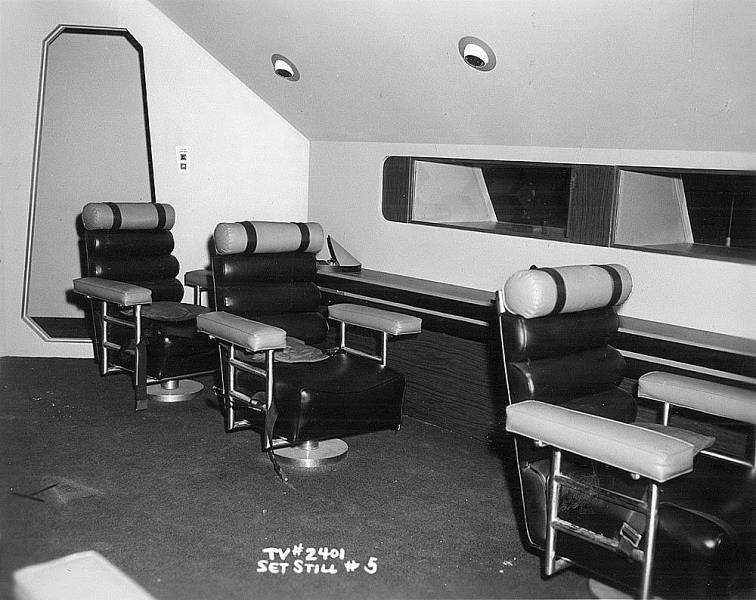
I looked at lots of images of the passenger cabin to try and get the spacing correct for the seats. I think this is pretty close:

ImagePassenger Seat Positioning in Cabin Floor by trekriffic, on Flickr
Last edited by trekriffic on Fri Nov 10, 2017 12:56 am, edited 1 time in total.
"You broke your little ships."

My albums on flickr: https://www.flickr.com/photos/29607470@N08/sets/
User avatar
trekriffic
Admiral of the Fleet
Posts: 2742
Joined: Mon Oct 01, 2012 4:16 pm

Re: Spindrift from Land of the Giants by Polar Lights

Post by trekriffic »

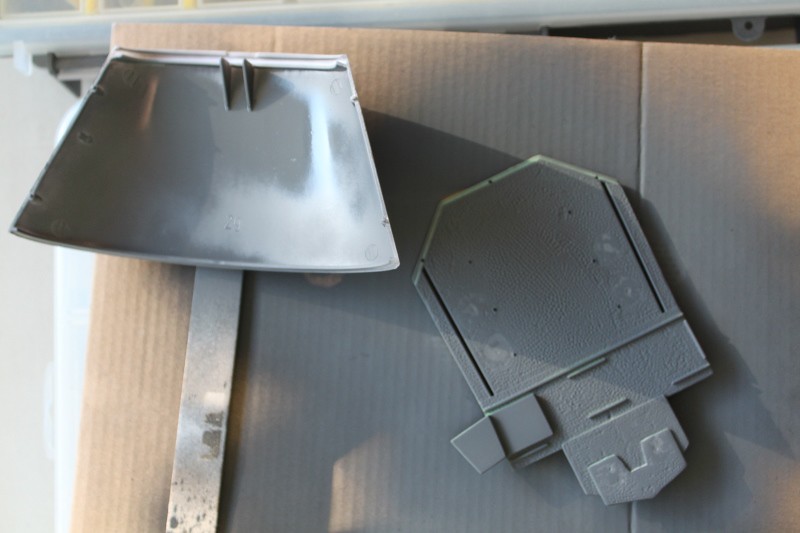
First coat of prirmer on aft upper hull and floor:

ImagePrimiing by trekriffic, on Flickr

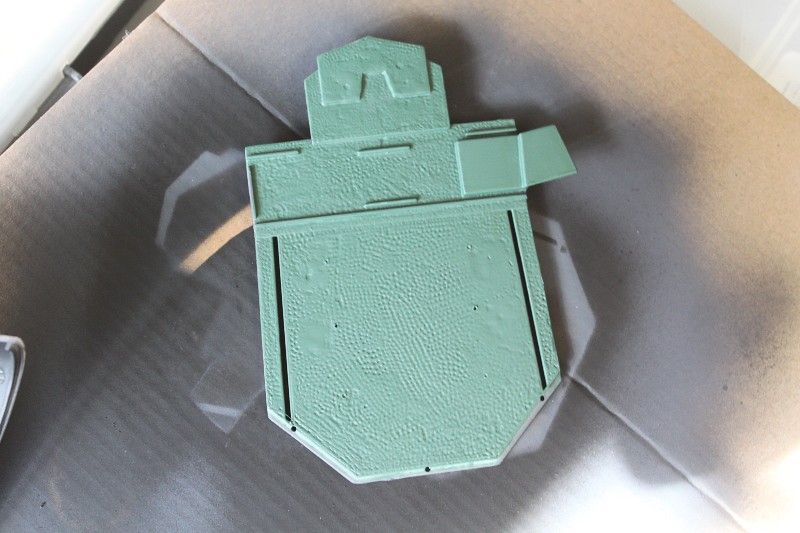
I gave the floor a brush of European Dark Green. Afterward I went back and drilled out some more indentations where I had removed the molded chair bases to match the texture of the rest of the carpeting. The I gave the floor another coat of paint:

ImageInterior Floor Painted by trekriffic, on Flickr

Whirling all about the garage...

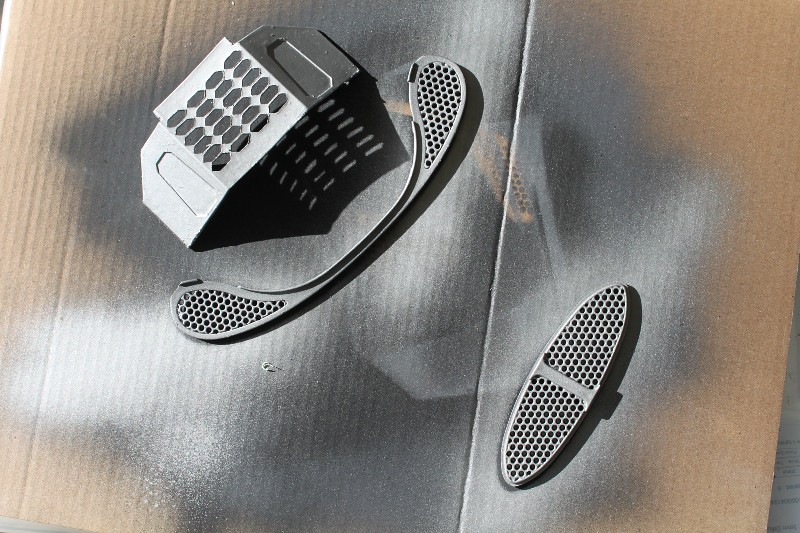
The rear passenger cabin wall and engine intake and exhaust grills were primed, sprayed matte black, and sprayed with Tamiya Bare Metal Silver. The cabin facing side of the rear wall would later be painted white in preparation for the final coat of interior wall paint:

ImageResin Replacment Parts Primed and Painted by trekriffic, on Flickr

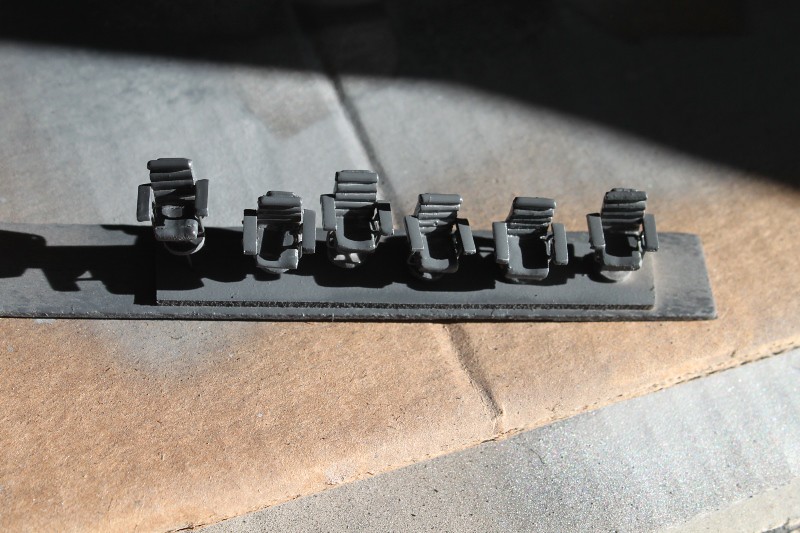
The passenger seats were primed before being sprayed with with Tamiya Matte Black lacquer:

ImagePassenger Seat Priming by trekriffic, on Flickr

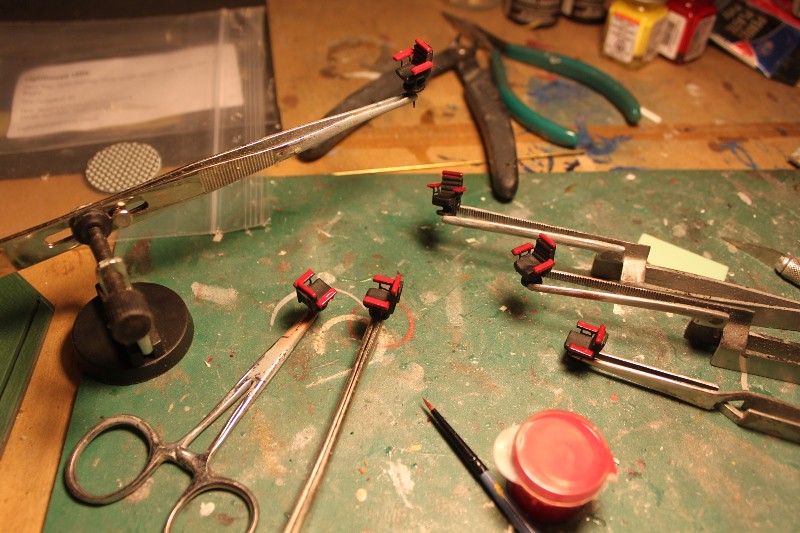
I made a mix of Testors flat red and yellow enamel to paint the armrests and headrests. Still need to paint the silver chair frames and bases, and the black straps on the headrest and backs of the seats:

ImagePainting the Seats by trekriffic, on Flickr

Lastly for now...

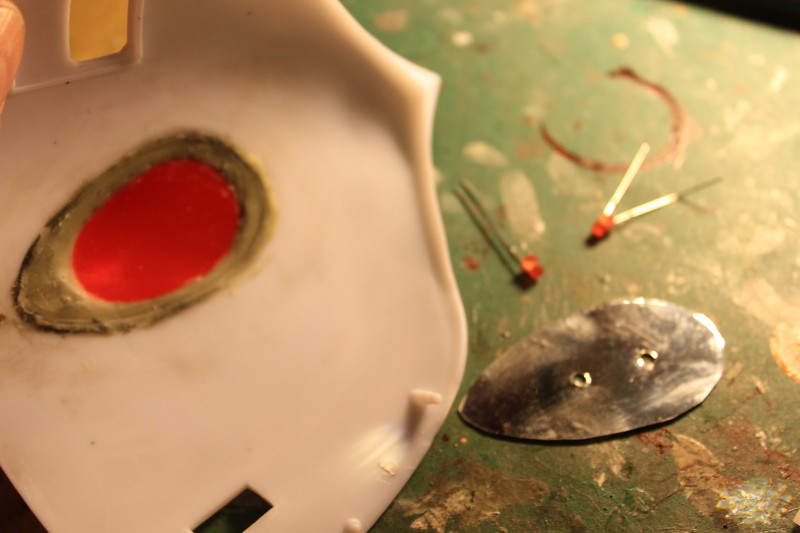
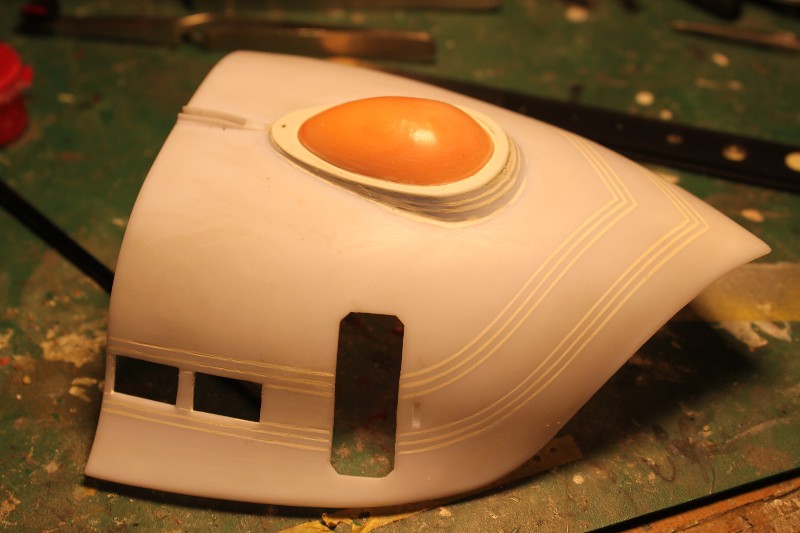
Dome redux. For the underside of the upper dome opening I cut an oval piece of transparent red styrene sheet. I then packed AVES around it. Two 2mm red flat top wide angle LEDs will illuminate the dome. They will fit up and thru the holes in the thin oval Evergreen styrene sheet which I covered with adhesive backed aluminum foil to help reflect the light upward into the dome:

ImageDome Work by trekriffic, on Flickr

The finished dome:

ImageUpper Dome Installed by trekriffic, on Flickr

Next up I'll discuss what I did for getting power into the ship and show you some really nice wood removal on the underside of the dispaly base. Fascinating stuff!
"You broke your little ships."

My albums on flickr: https://www.flickr.com/photos/29607470@N08/sets/
User avatar
trekriffic
Admiral of the Fleet
Posts: 2742
Joined: Mon Oct 01, 2012 4:16 pm

Re: Spindrift from Land of the Giants by Polar Lights

Post by trekriffic »

Time for a Giant update I think...

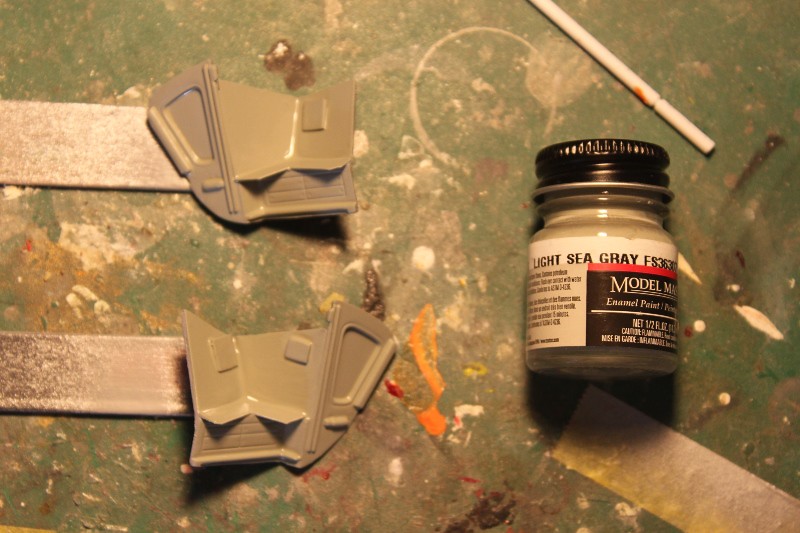
The cockpit sidewalls were painted. I like the greenish gray tone of Light Sea Gray. It went on nice and smooth with a brush. Gotta love a fresh bottle of paint:

ImageCockpit Sidewalls Painted by trekriffic, on Flickr

Jumping about...

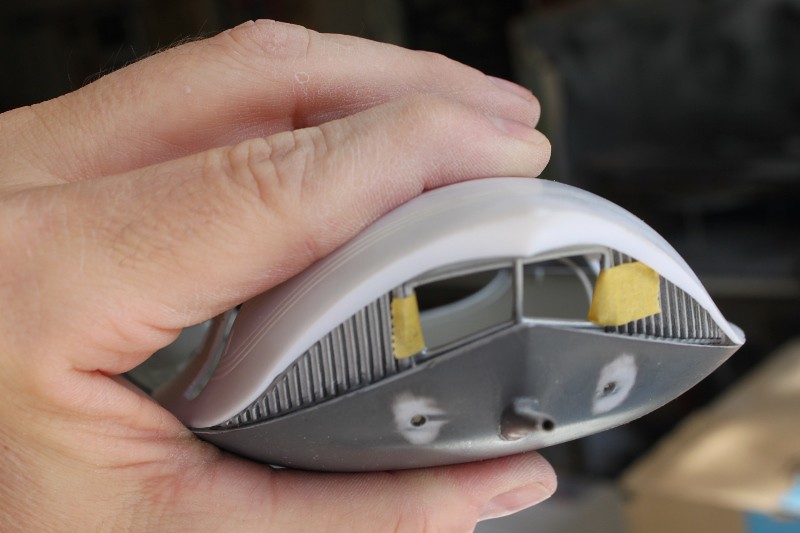
I taped the grills and windshield frame in place to see how the fit was:

ImageUpper Forward to Lower Hull Test Fit by trekriffic, on Flickr

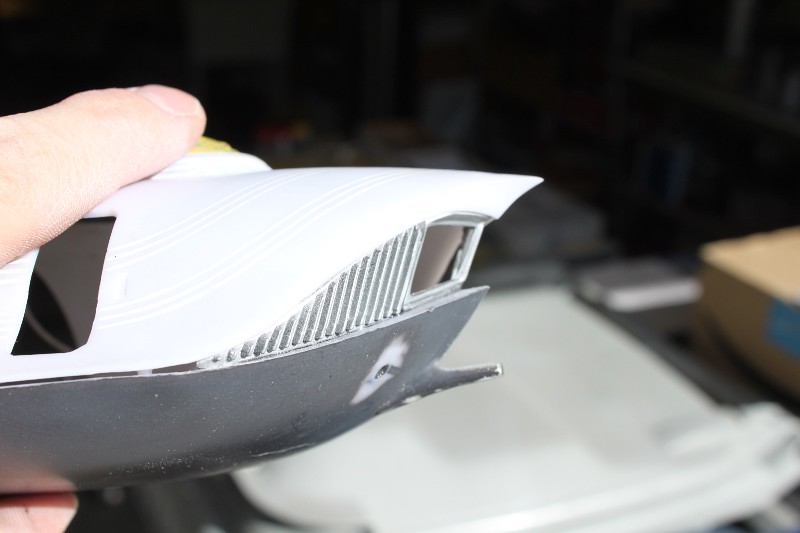
This is how I intend the bow profile to look when I'm done.

ImageTest Fit Bow Profile by trekriffic, on Flickr

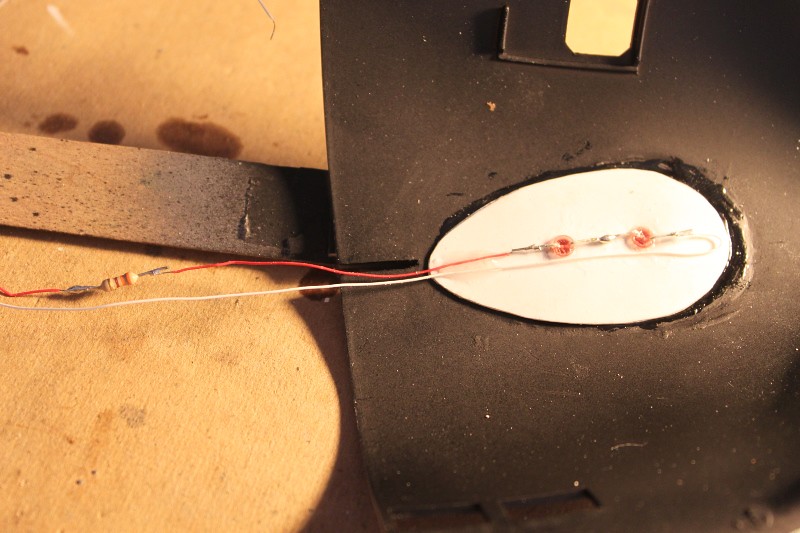
Back to the upper dome lighting. Two red LEDs were wired in series. I did a light test to get the spacing just right so the dome is evenly lit then glued the panel in using epoxy:

ImageUpper Dome LED Wiring by trekriffic, on Flickr

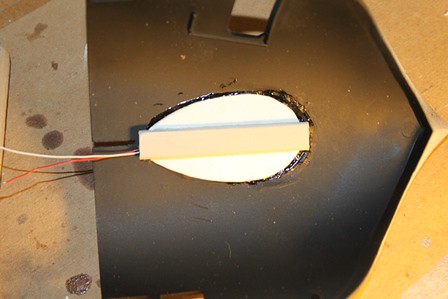
I covered up the dome wiring using a piece of styrene square tubing cut in half and glued with Plastic Surgery CA:

ImageCover for Dome Wiring by trekriffic, on Flickr

Main power trunks...

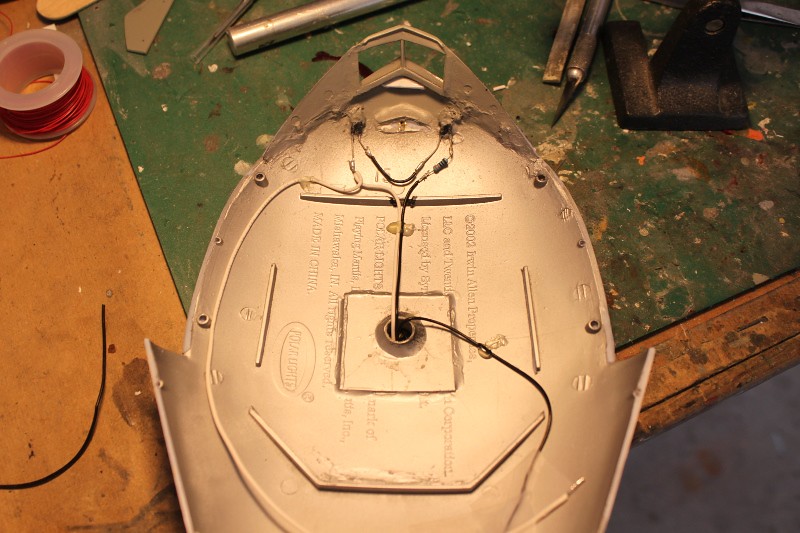
Two black wires and one white wire were fed thru the hole in the underside. One black wire with resistor was soldered to the negative leg of the starboard headlight before being wired in series to the port LED. The white wire was soldered to the positive leg of the port LED and extended to the back of the ship as it is is the common bus for both circuits. One circuit will light the engines and cabin lights while the other will only operate the bow headlights:

ImagePower Wires by trekriffic, on Flickr

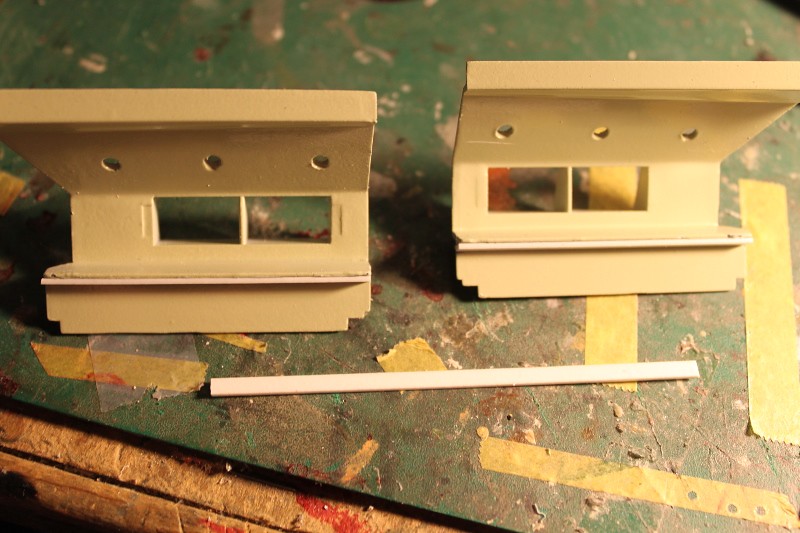
The passenger cabin window shelves were too thin so I thickened them using styrene strip glued to the underside:

ImageShelf Thickening by trekriffic, on Flickr

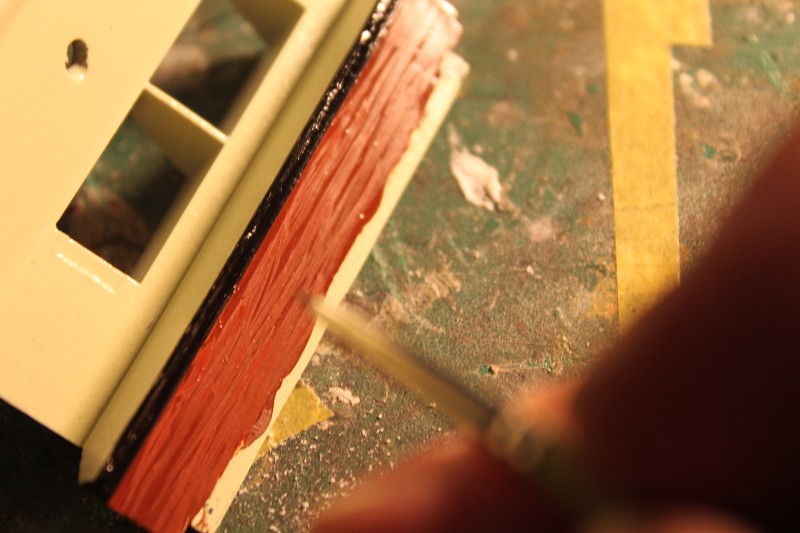
I used brown and rust enamels to simulate the wood grain look under the window shelves:

ImagePainting Wood Grain by trekriffic, on Flickr

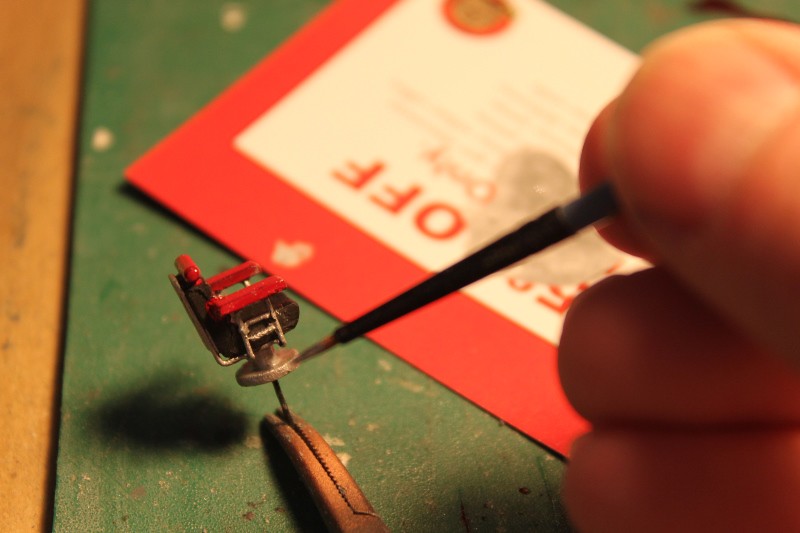
Some delicate brushwork was needed to finish up the arms, silver chair frames and bases for the seats:

ImageBrush Painting the Passenger Seats by trekriffic, on Flickr

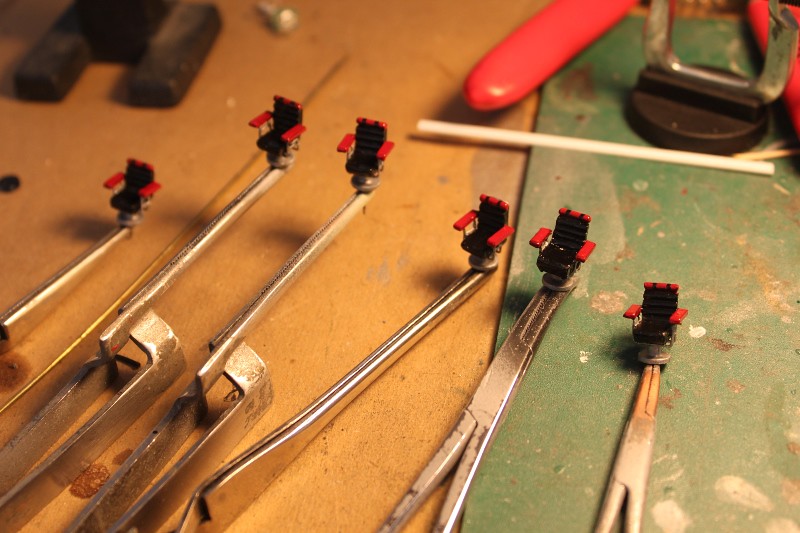
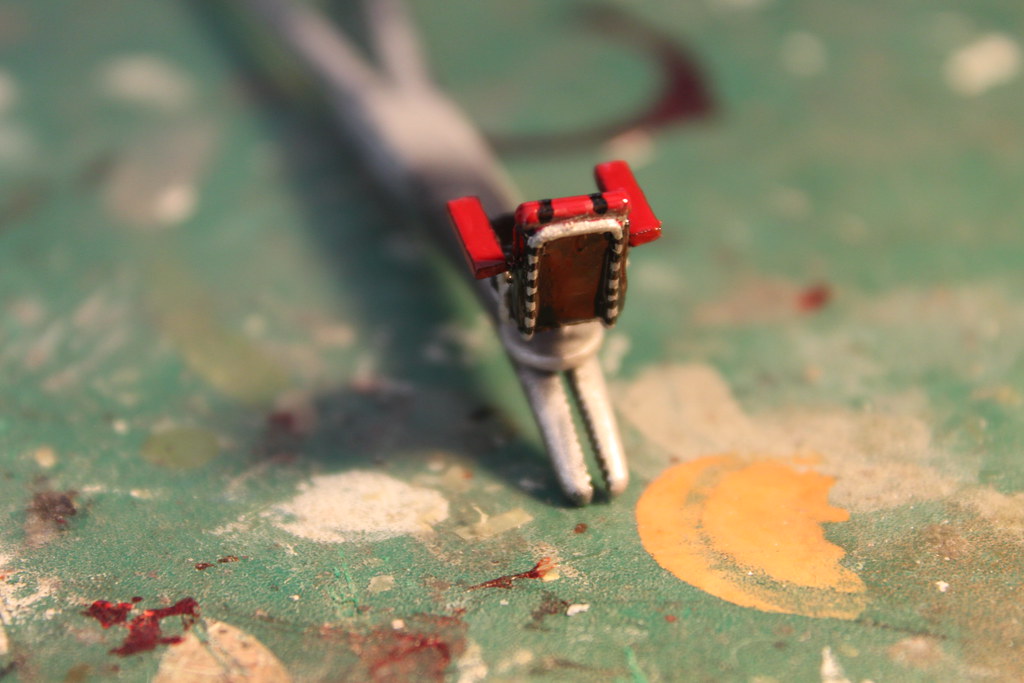
Reddish orange, black, and aluminum enamels were used. Painting the narrow black straps on the headrest and on the backs of the seats took a steady hand. After the paint dried the seats got a coat of Future:

ImageFinished Painting the Seats by trekriffic, on Flickr

ImageSeat Back by trekriffic, on Flickr

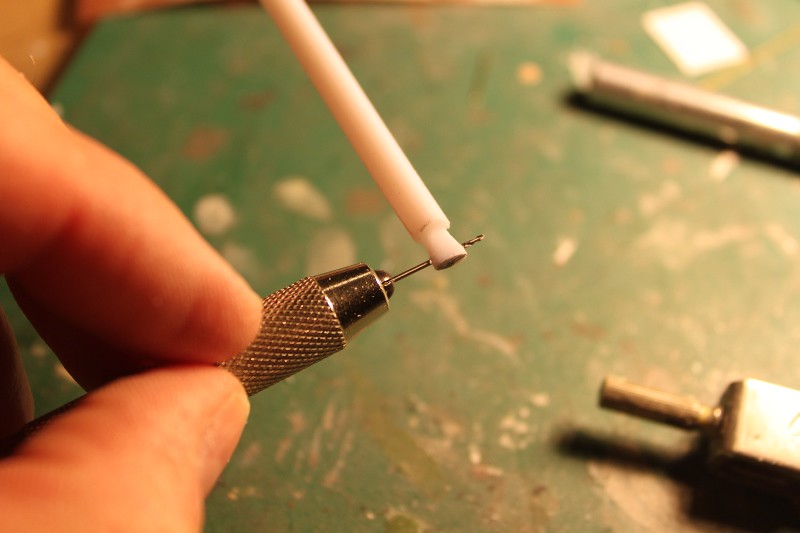
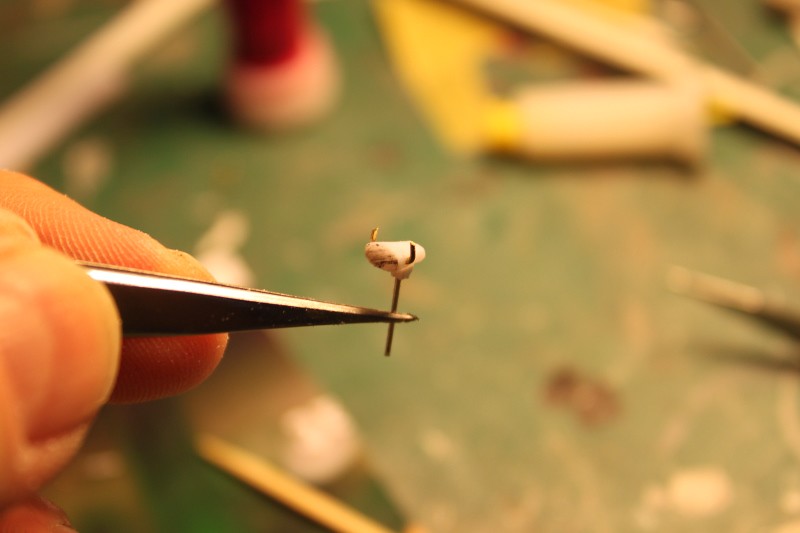
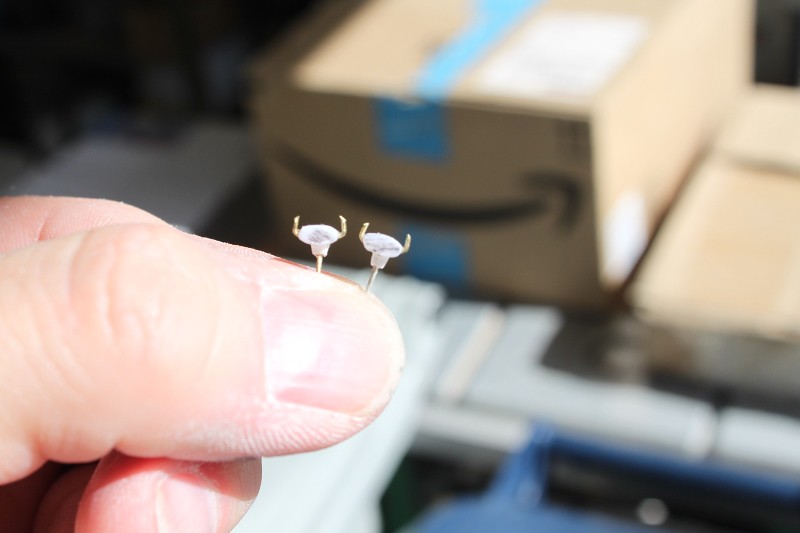
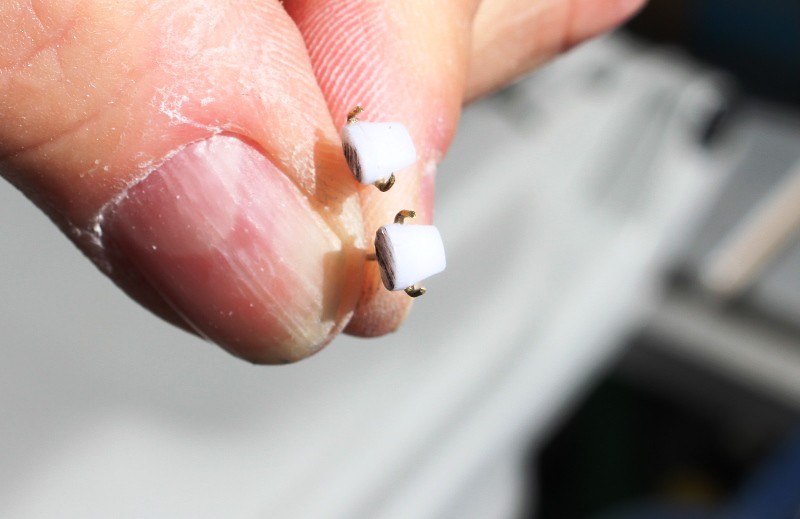
Next up... making the passenger comm stations...

ImagePassenger Comm Stations by trekriffic, on Flickr
"You broke your little ships."

My albums on flickr: https://www.flickr.com/photos/29607470@N08/sets/
User avatar
trekriffic
Admiral of the Fleet
Posts: 2742
Joined: Mon Oct 01, 2012 4:16 pm

Re: Spindrift from Land of the Giants by Polar Lights

Post by trekriffic »

kobayashimaru wrote:score!
that must take some surgeon-grade steady hands for those details,
geez, look at that :D
outstanding attention to detail.
Thanks koby. Yeah, I have to make sure to avoid coffee and swig a glass or two of wine before I get started so I can keep steady. :lol:
"You broke your little ships."

My albums on flickr: https://www.flickr.com/photos/29607470@N08/sets/
Post Reply

Return to “Off Topic”