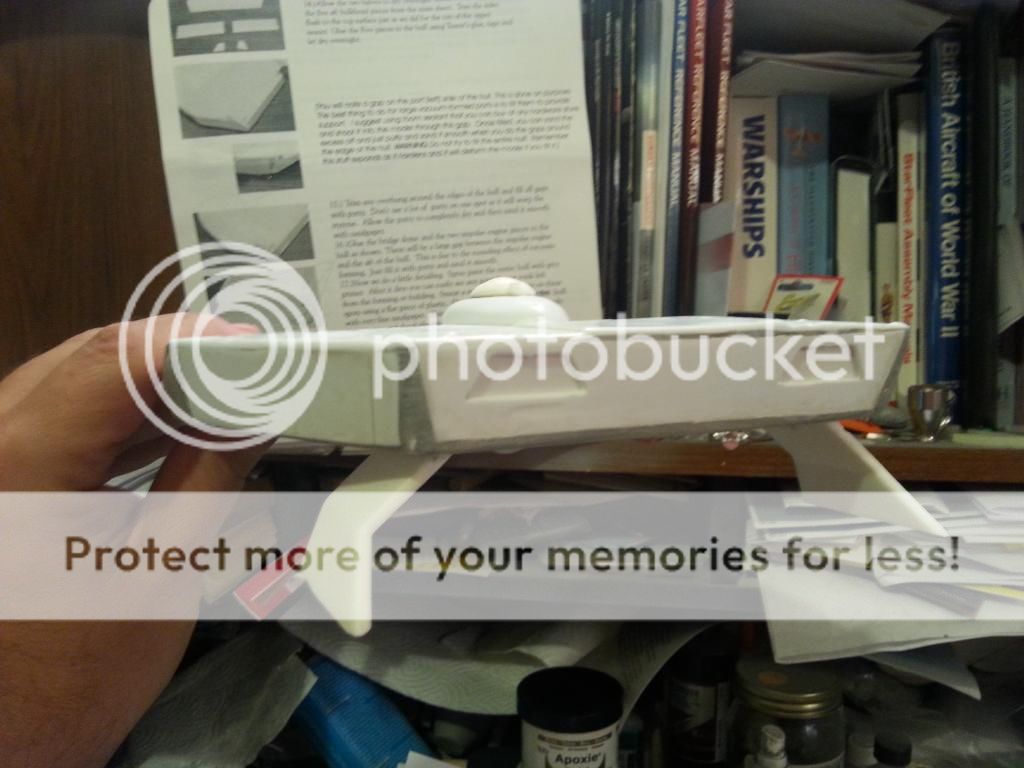
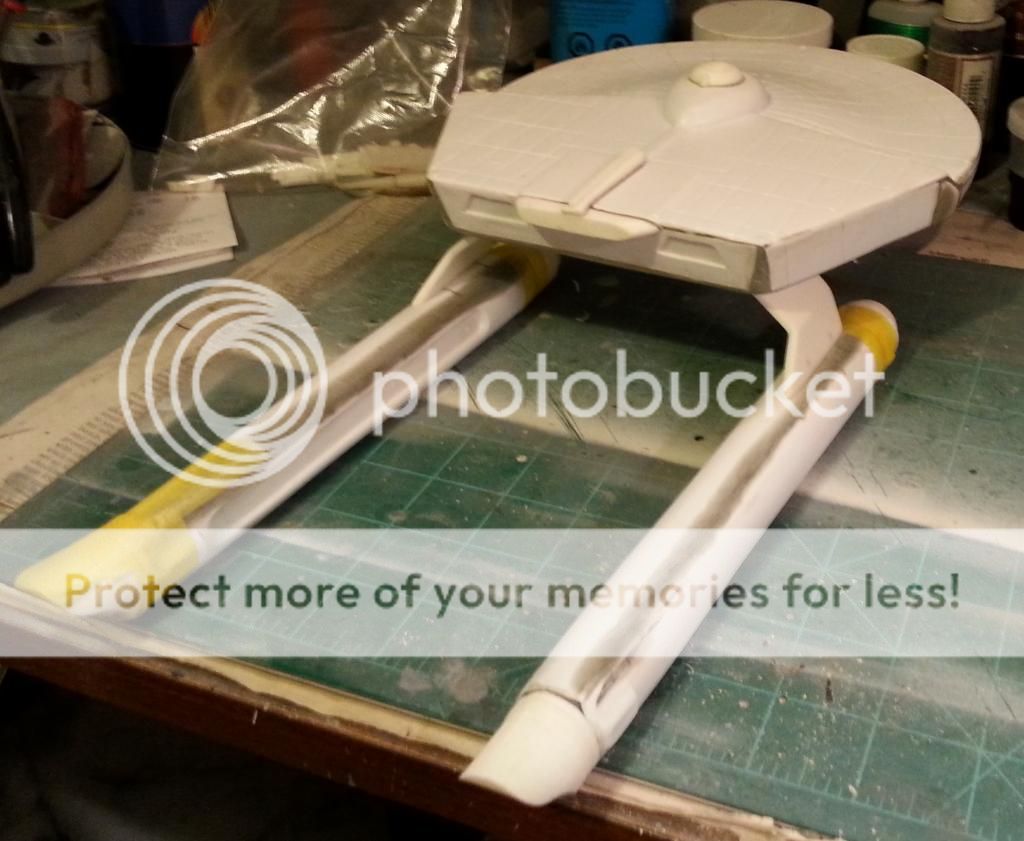
The vertical spacers that appear in my August 1 photos above run between the bottom of lower hull and attach to the underside of the upper hull. It's pretty thick styrene, and surrounds the aft hull on three sides with rigid pieces. The instructions provided templates for the port, starboard and aft spacer plates. Those parts attach to the molded vertical sides of the aft lower hull, so it's a higher wall with another shorter wall as support.
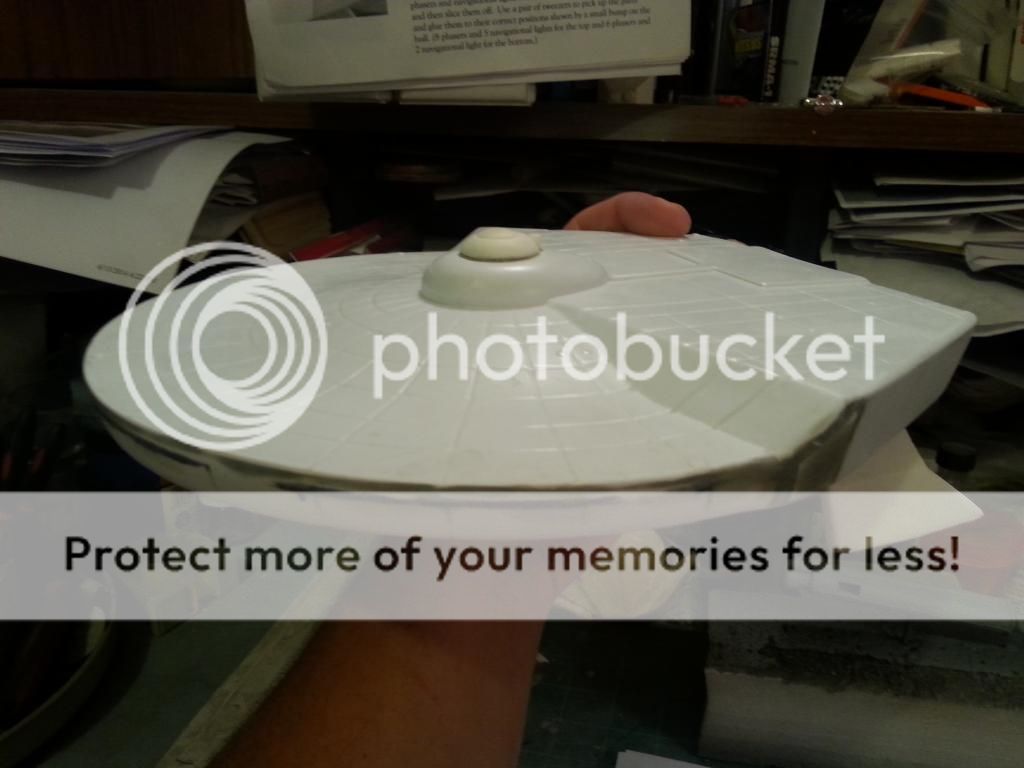
I added my own bracing around the forward hull, but I haven't done any sanding up there yet. But, between the added bracing and the "lip support" parts that the instructions had me add, I think it will hold.
Once you add the port and starboard exterior side plates, plus the aft bulkhead, there are, in reality, six separate vertical load-bearing walls supporting the back end of the ship. Plus there are the two smaller angled internal parts the provide the proper angle for the exterior side plates. So that's eight vertical walls of styrene.
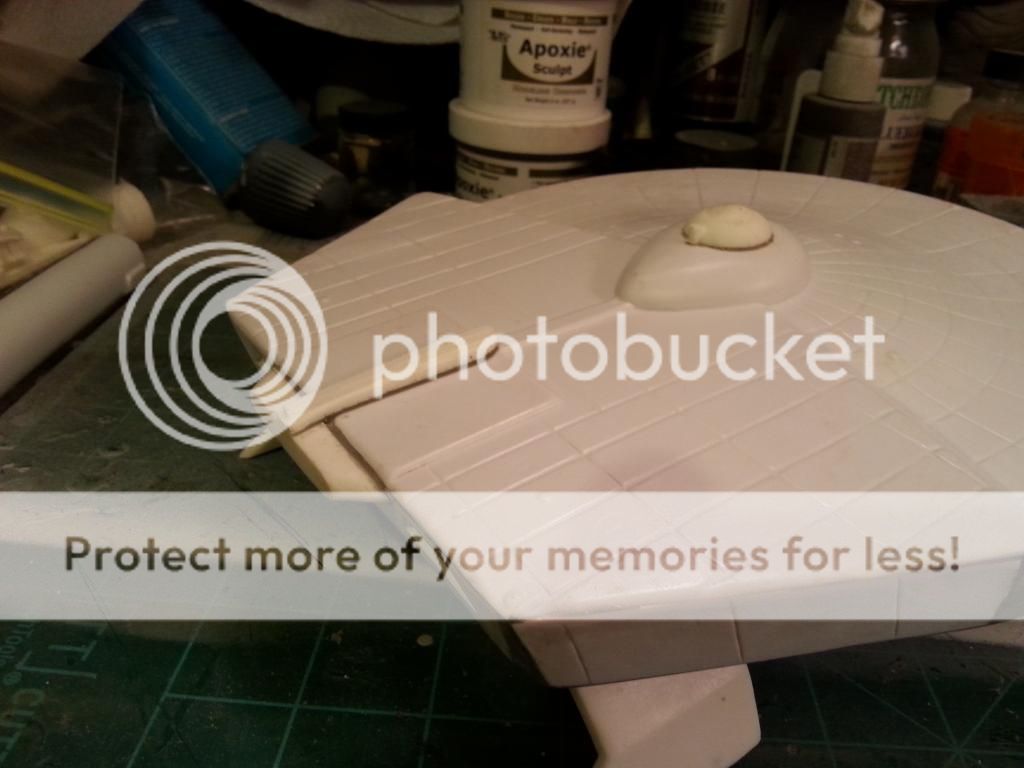
The instructions say to fill the kit with expanding foam before puttying and sanding. I didn't want my model to explode, so I didn't use the foam. I would guess the foam would provide a pretty firm surface as well. That's the nice thing about Aves. You really don't have to crank down on it to get it to sand. Also, I used varying grits of sanding sticks, working from more coarse to fine. I let the sanding stick do the work, which means I don't have to ream down on the styrene.
The styrene on this thing is pretty thick. I really need to get a new battery for my digital calipers so I can get a reading on the thickness. It's actually thicker than some mainstream plastic models I've built.
It's all up to you as to how you want to reinforce the interior of the hull. A spare sheet of styrene was included with the kit, so I could have used that to install additional vertical internal supports where the upper primary hull angles upward to form the aft extended hull. Also, the stand mount I installed comes up right underneath the hull top, so that provides another "hard point" on the interior.
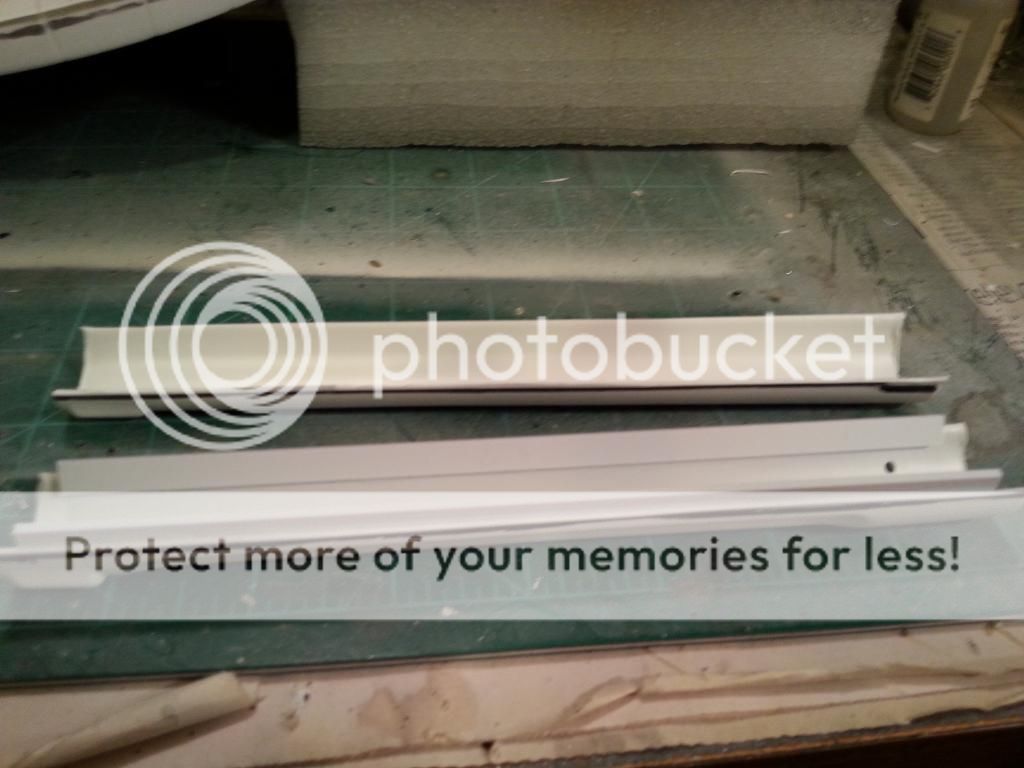
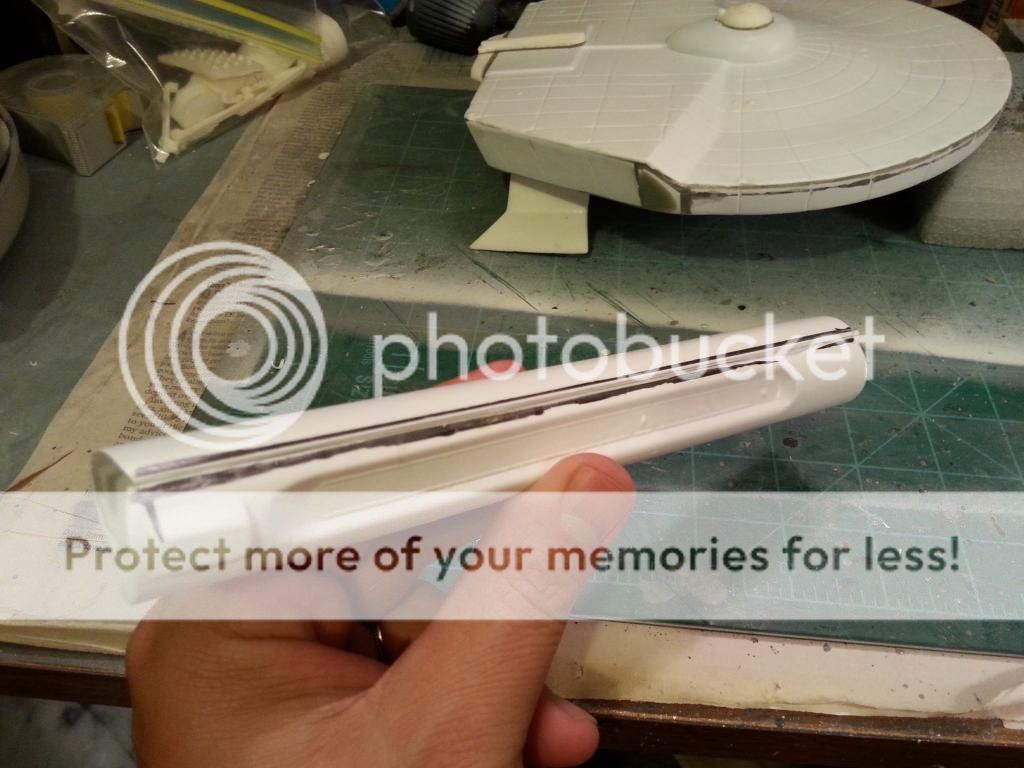
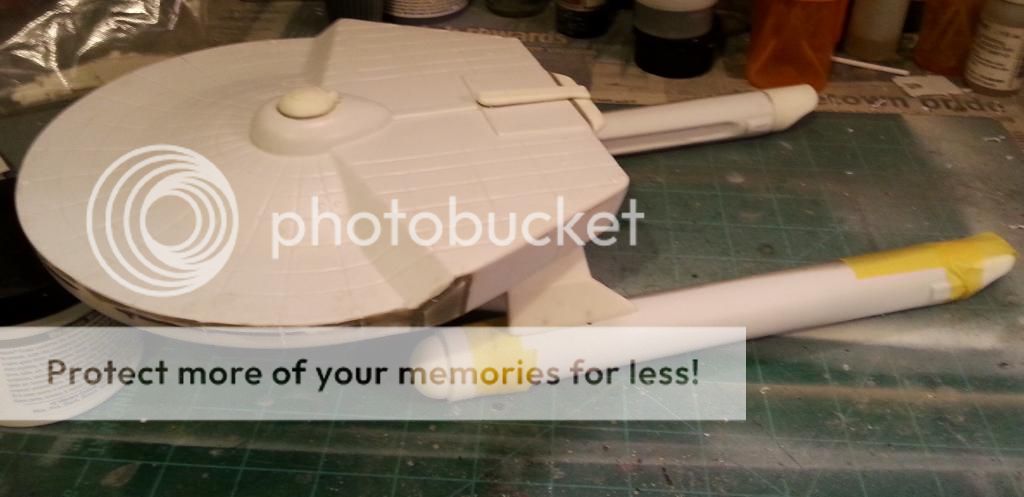
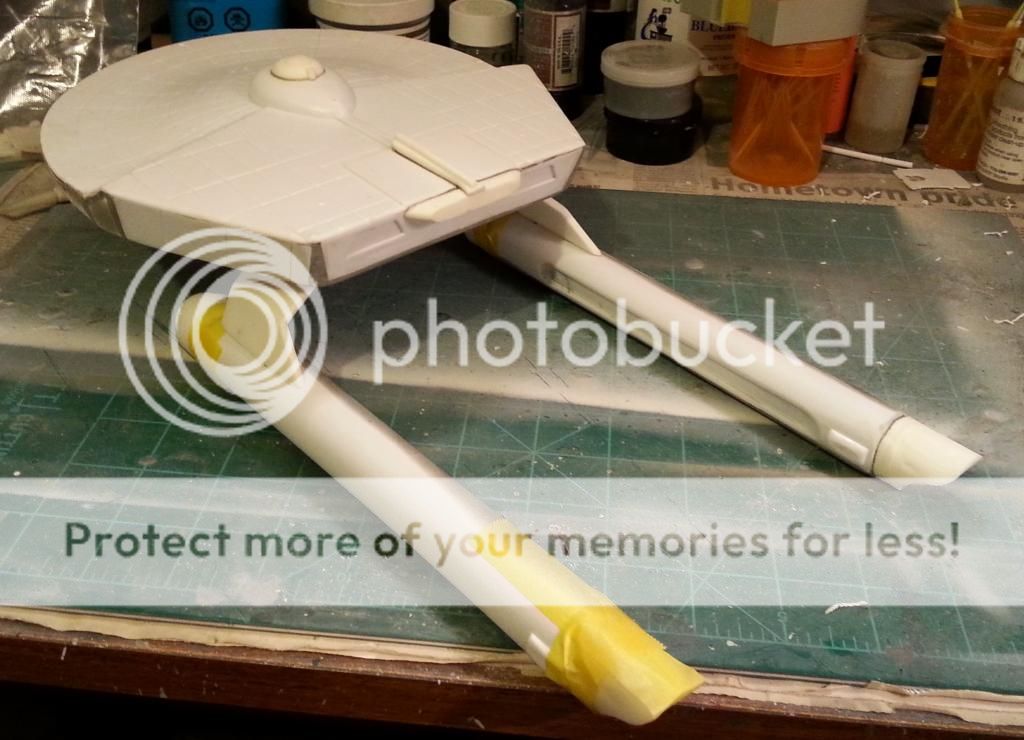
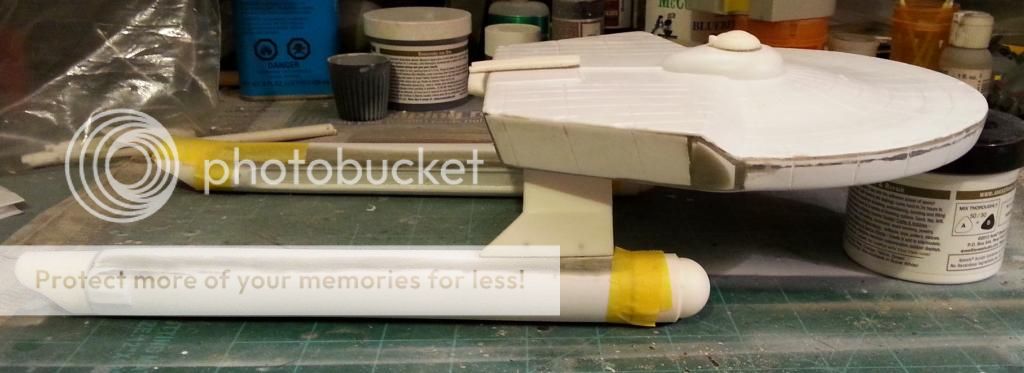
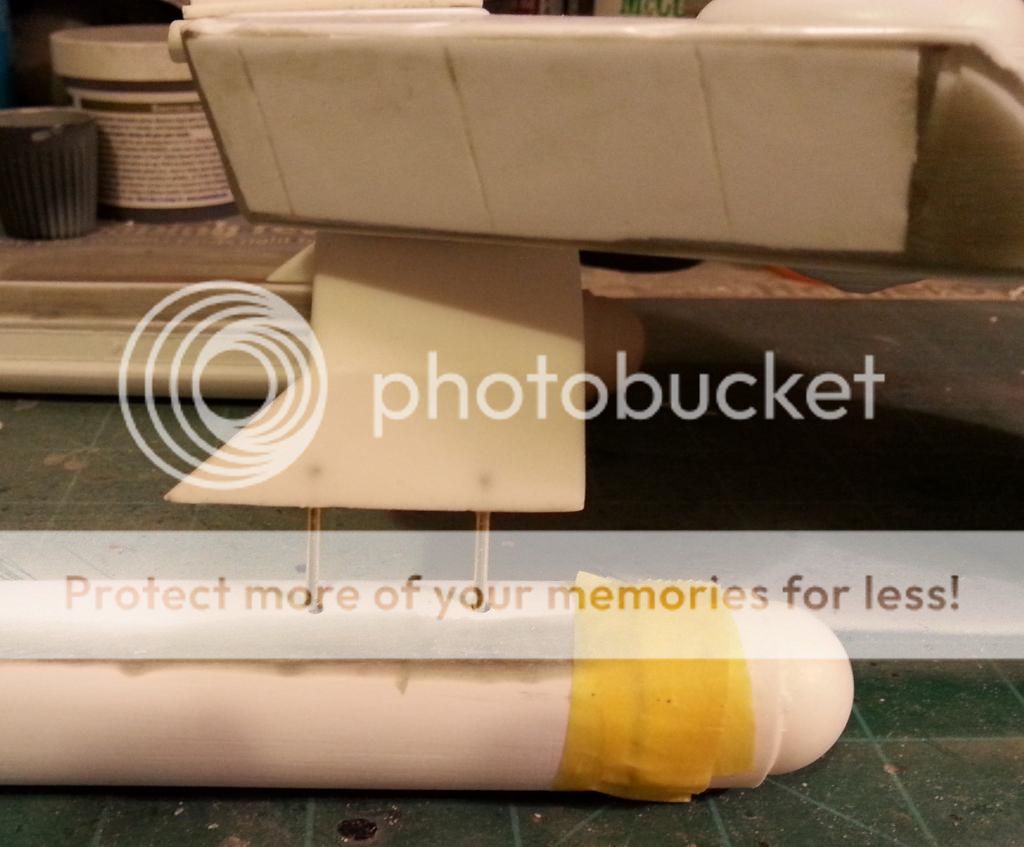
The warp nacelles are the next challenge, as there's nothing internally to support the long hollow tubes. The instructions do say to install the Bussard domes and the end caps prior to doing any puttying and sanding. Having solid resin forward and aft will help make the nacelles rigid, but I'm going to add some styrene beam that runs the length of the interior, top and bottom, to reinforce the nacelles. The beams will also act as mounting tabs as there is nothing other than the flat mating surfaces to keep the nacelles together.
So . . . start building a vacuform kit, darn it!