I seem to be having a bit of a problem with the wires breaking on either side of my solder joint. I guess I was getting the soldering iron a little bit too hot and I haven't been twisting the wires either.
Apologies for not responding quickly as RL had slammed me hard the past few weeks. Work has really picked up leaving me little time to "appear busy". This is good as my job isn't in jeopardy at the moment so, yeay me!
But it does seem though that the wire is experiencing fatigue rather than a failure of the solder joint. Here are a couple of the pics I took just to show you the situation.
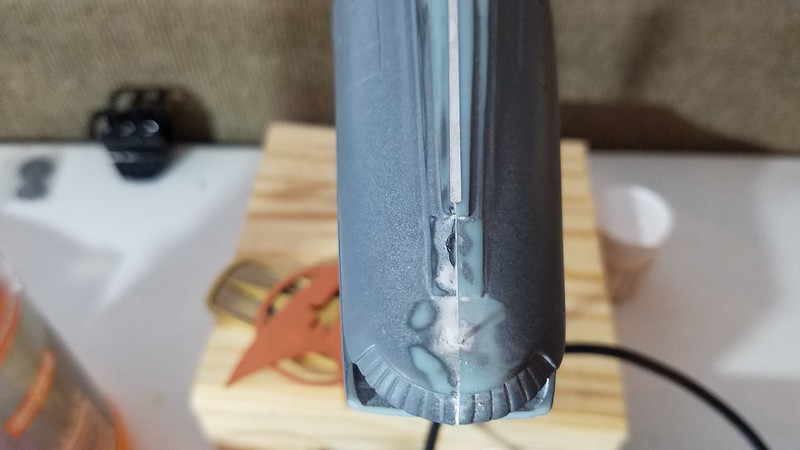
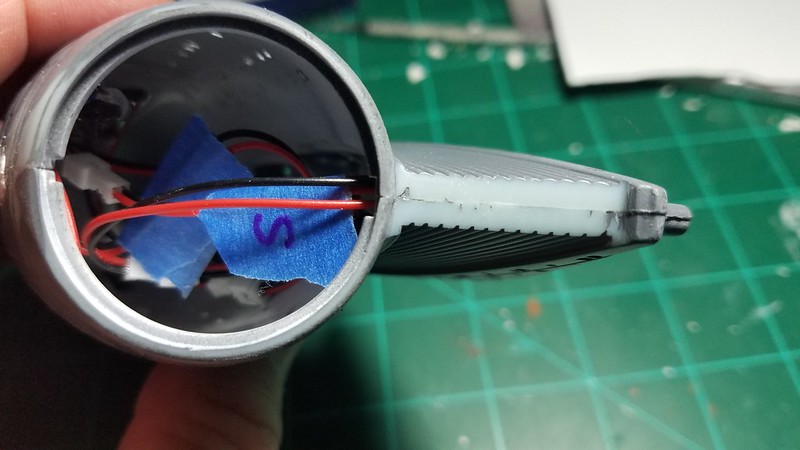
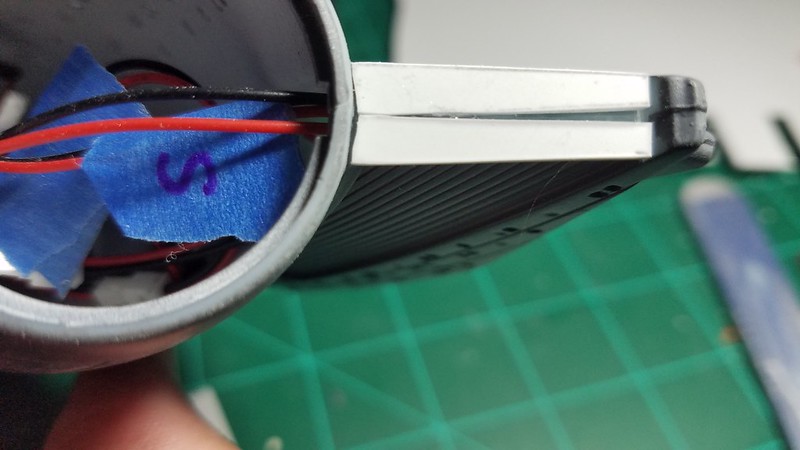
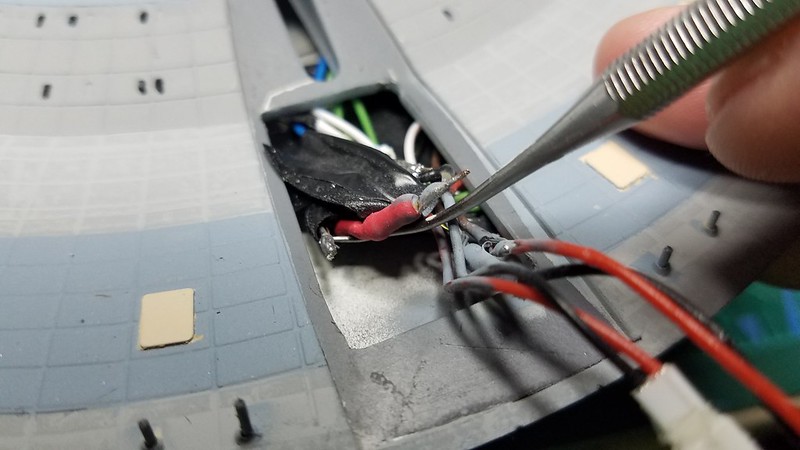
This one is to get you oriented to where the solder/wire failed and the space I have in which to work.
 20180720_134036
 This one shows the solder joint. The red heat shrink I am holding with the instrument is the resistor and the end is where the wire fatigued and broke. The other end is near the tip of the tool and it looks to be stranded.
 20180720_133923
I thought I had covered and supported the wire well enough but, as mentioned above, I didn't go the extra steps to make sure they stayed supported. Some other factors I noticed were that the resistor end doesn't give; it is a solid core wire. The wire I attempted to solder to it was stranded and very flexibile.
As I noted, the wire fatigue seems to happen at the solder joint and it doesn't seem to matter if both are stranded or both are solid core or a combination of the two; they all seem to break there.
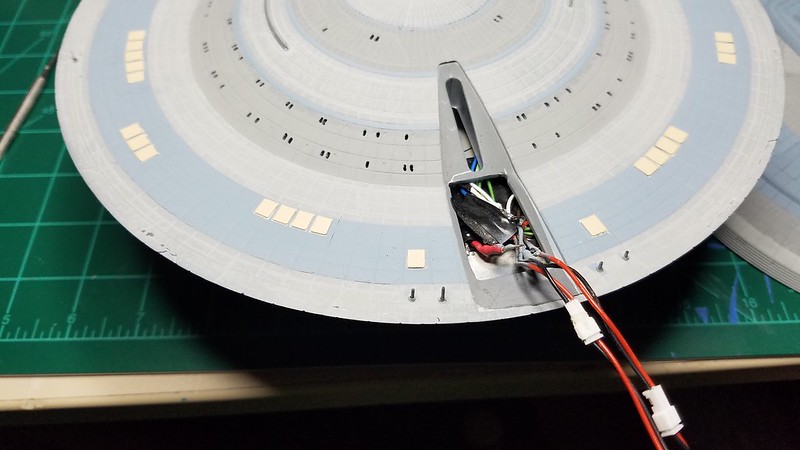
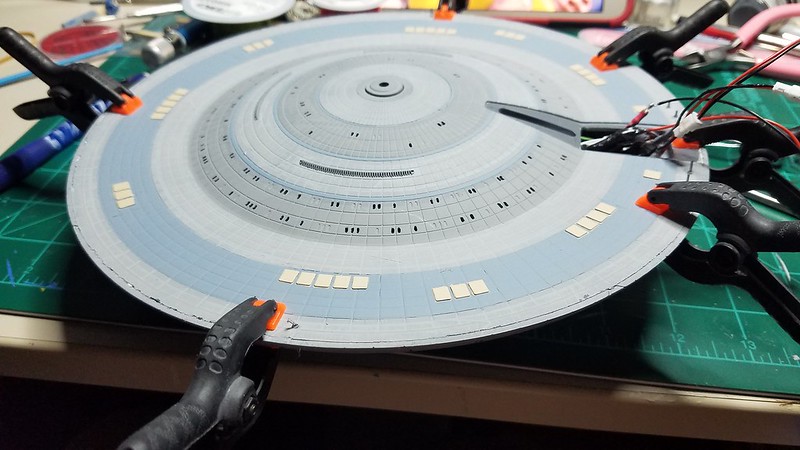
I think I will try and reduce the styrene from the model and free up some more wire from the model in order to strip the cover back and attempt to re-solder.
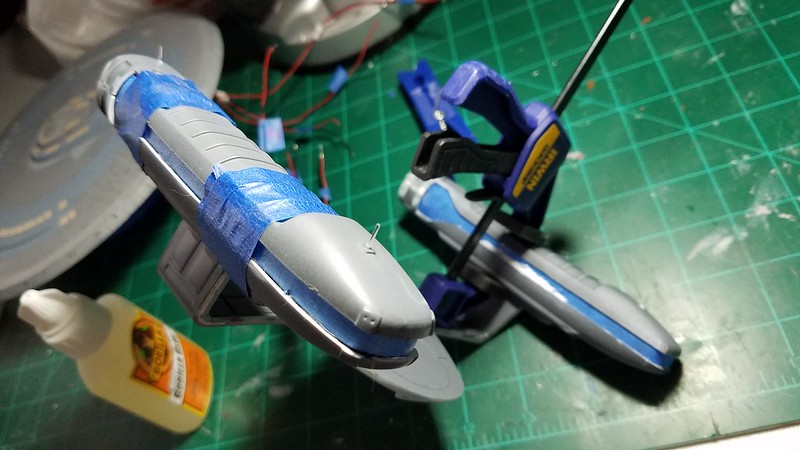
Okay, so, while Mrs. MSgtUSAFRet napped yesterday, I discovered that I wouldn't be able to solder the saucer dorsal strobe wires without some serious gymnastics and cutting of the saucer, I noticed one of the green Nav lights was out.
Well, Farglecarb!
So I made the difficult decision to pop the saucer and have a lookie loo. The wires had snapped off the LED. I stripped the wire and twisted the end around the LED lead and, using the low temp setting on the soldering iron, I drew the solder to the joint. I did the same thing on the strobe leads and fixed it while I had her open. I also used some hot glue and glued the LED and solder joint to the saucer surface in an attempt to further reinforce the wire/solder joint.
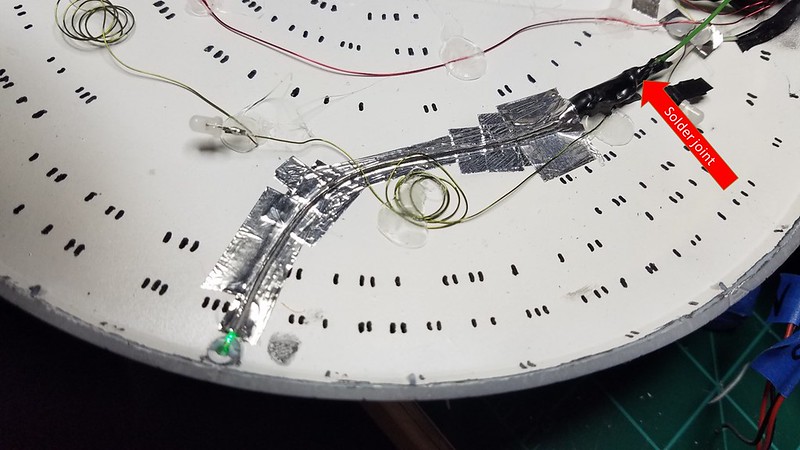 Solder joint
 Now I have to re-cement, re-putty, and re-paint her saucer. I guess I needed the practice. :/
 20180729_133937
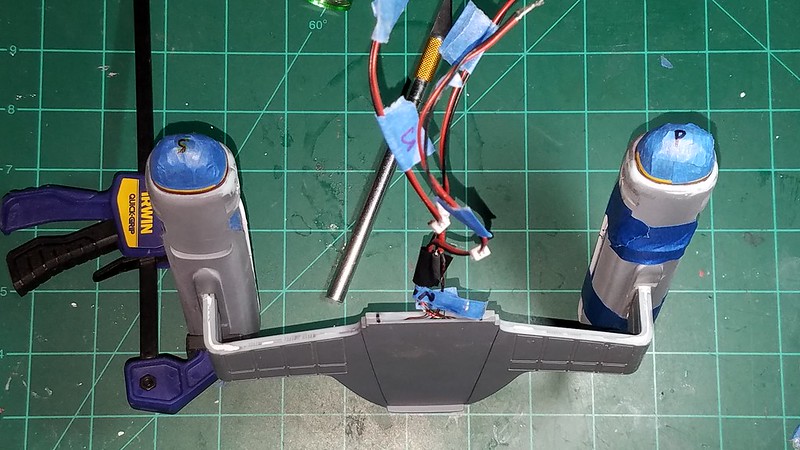
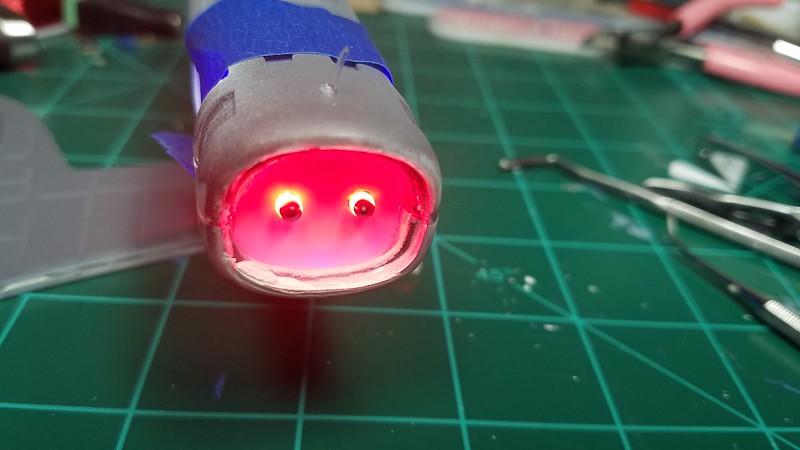
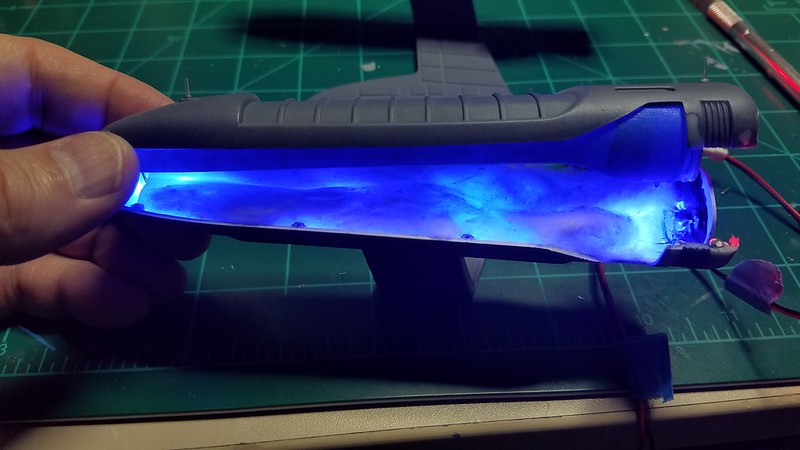
I also cracked open the engines and did some playing with further toning down the lights.
So, I was trying to think of ways to tone down the light in the engines. I finally decided to put some Tulip puff paint on the ends of the LEDs. Its seems to have worked as the light is very indirect!
 20180731_181205
Plus, if you draw a half circle underneath the LEDs, it kinda looks like a smiley face!
A few other sites have suggested stuffing cotton in there so I did that with the STBD engine.
 20180731_181555
 I tried to get a pic of the difference between the cotton stuffed engine and the non-cotton stuffed engine. It didn't work out too well but you might be able to tell that the Bussard collector isn't a flood light any more.
subdued
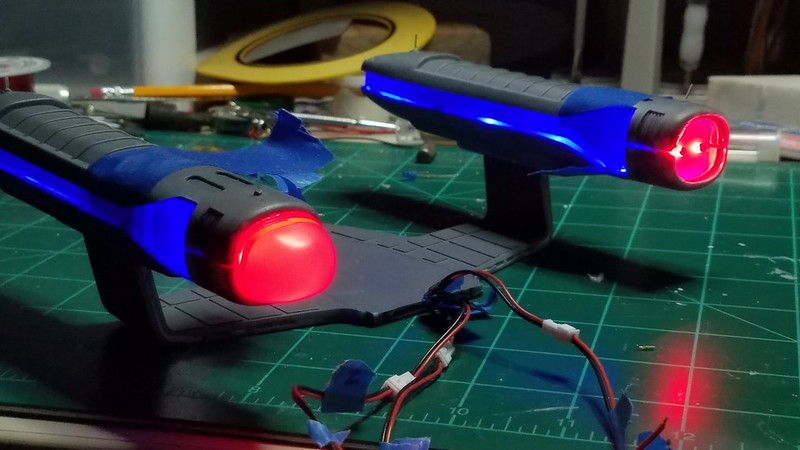 20180731_181443
Ah, well. Still pressing forward.
I'm getting an itch to get this done to get to my next project - a 350 TOS E!
Which means I need to get this one done!
Thanks again for reading!
Steve